


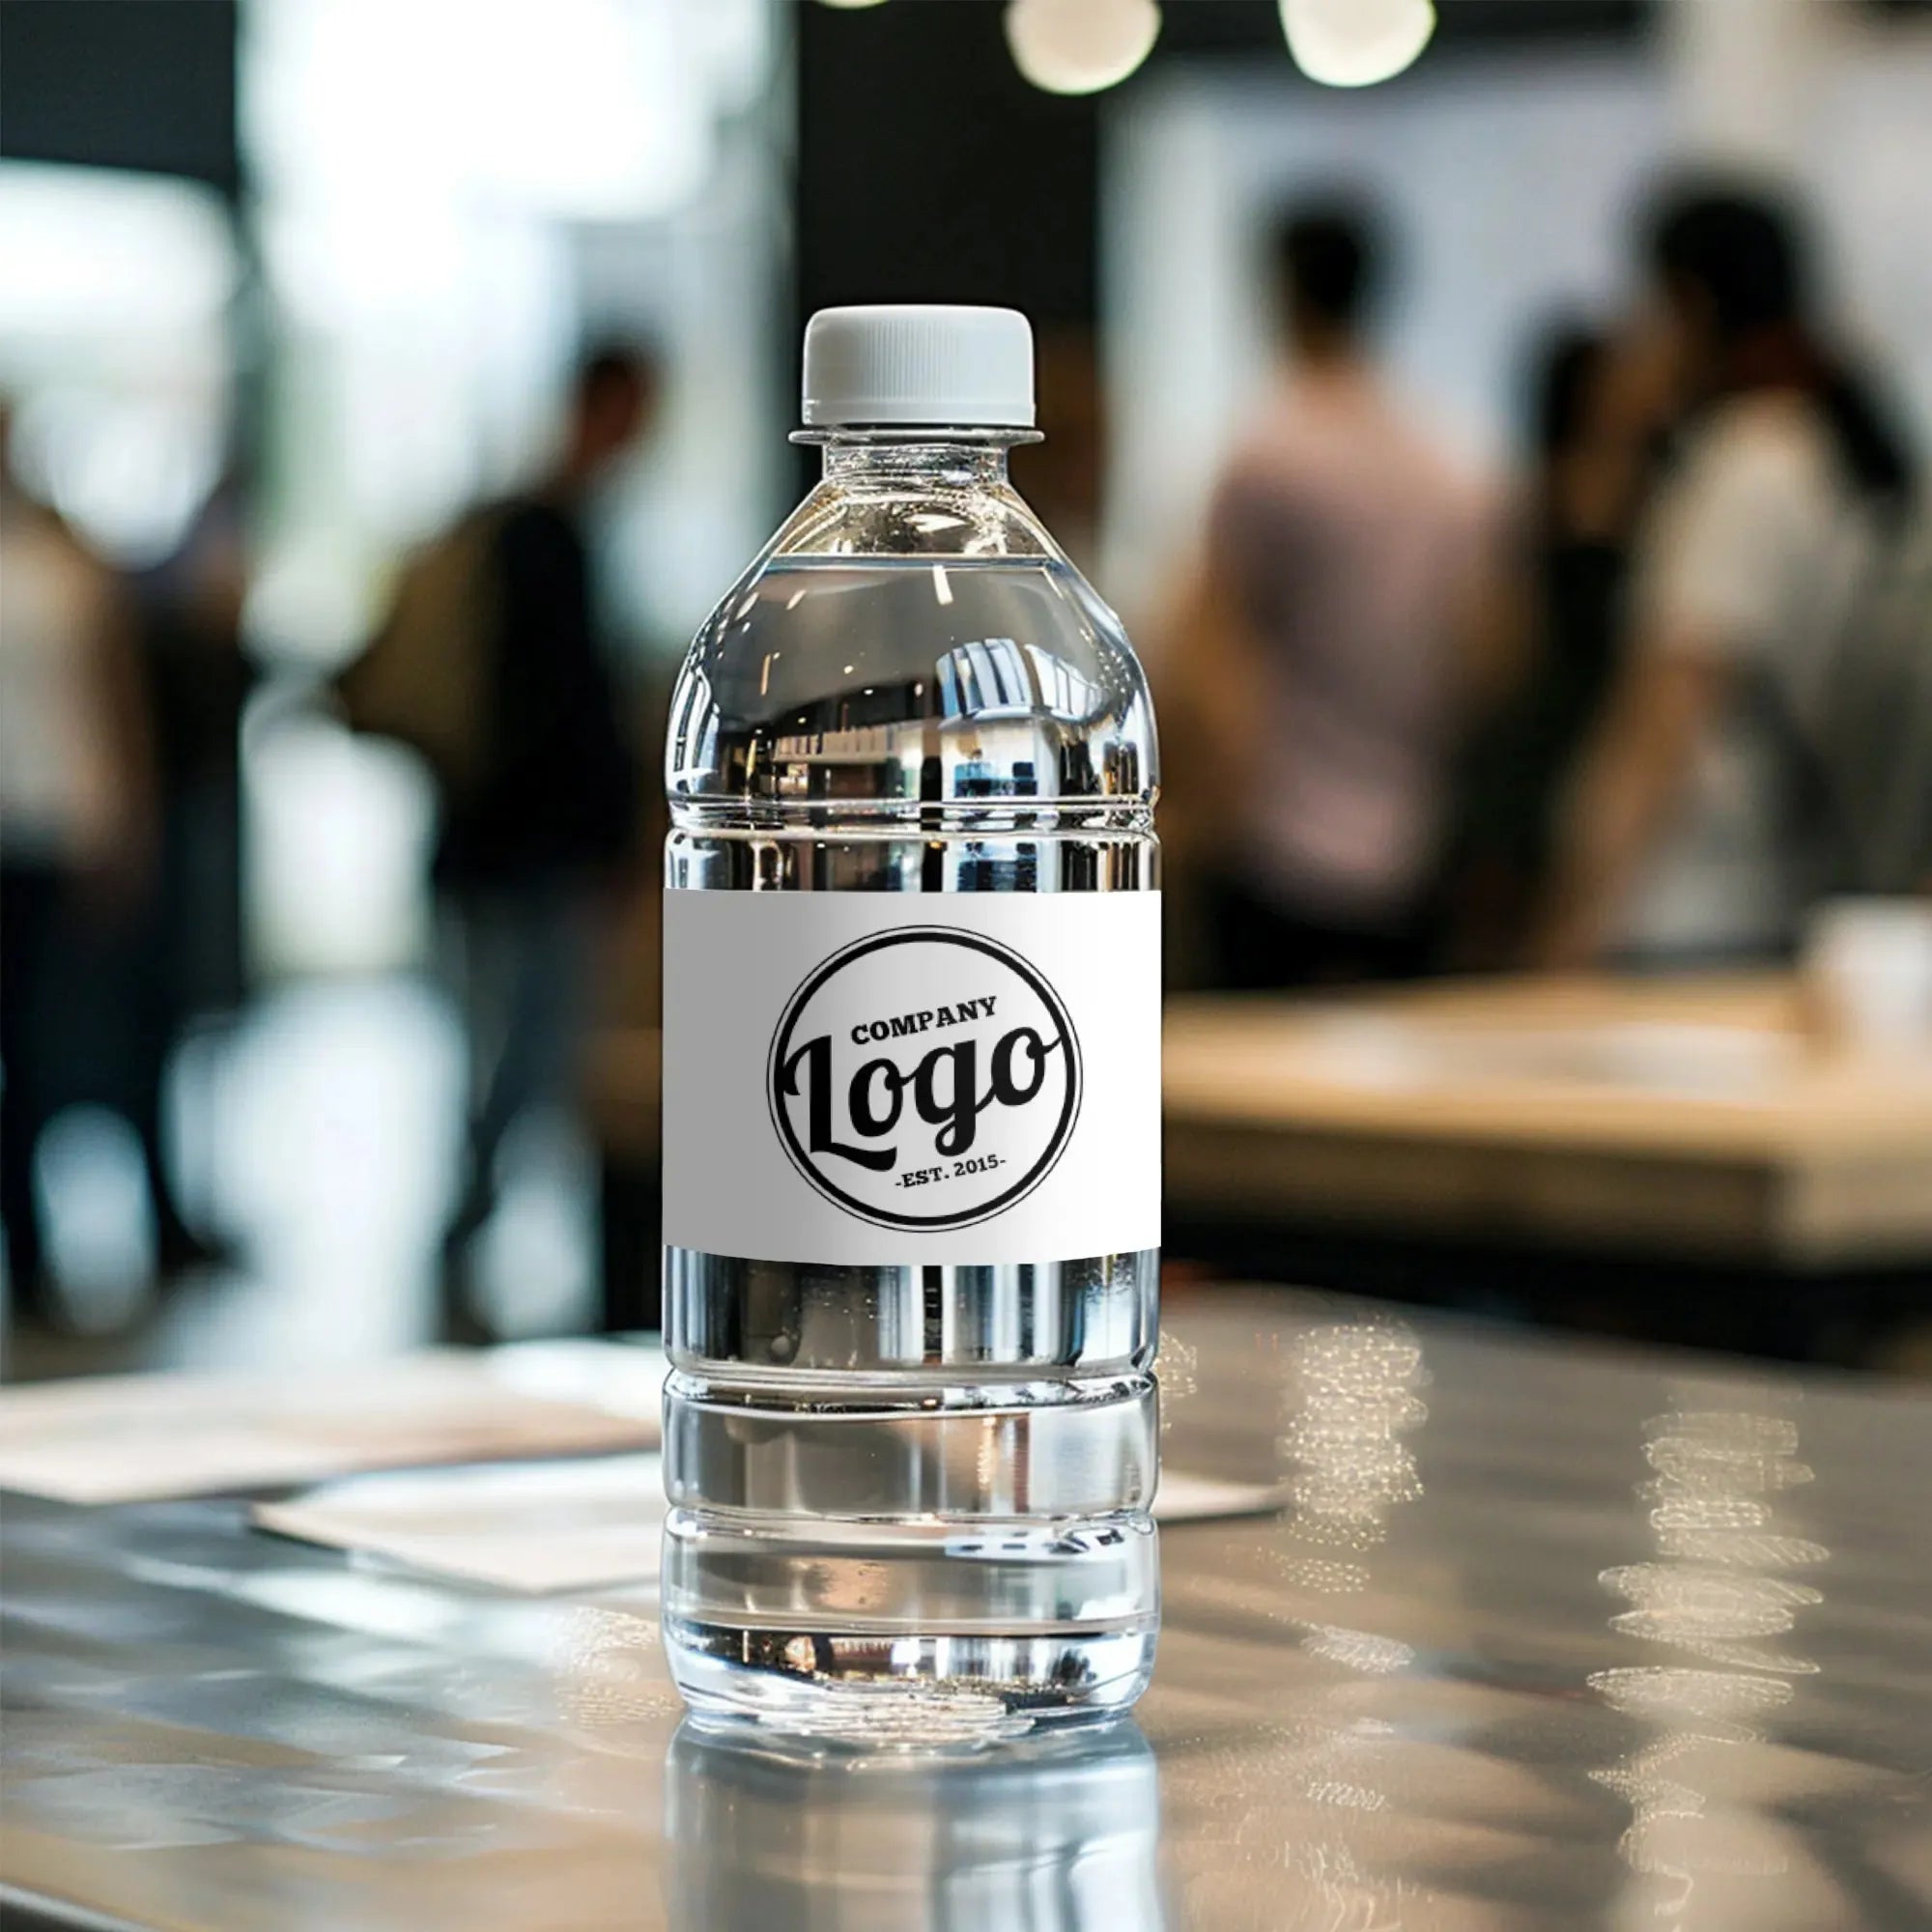


How to Make Your Own Custom Labels for Water Bottles
How to Make Your Own Custom Labels for Water Bottles
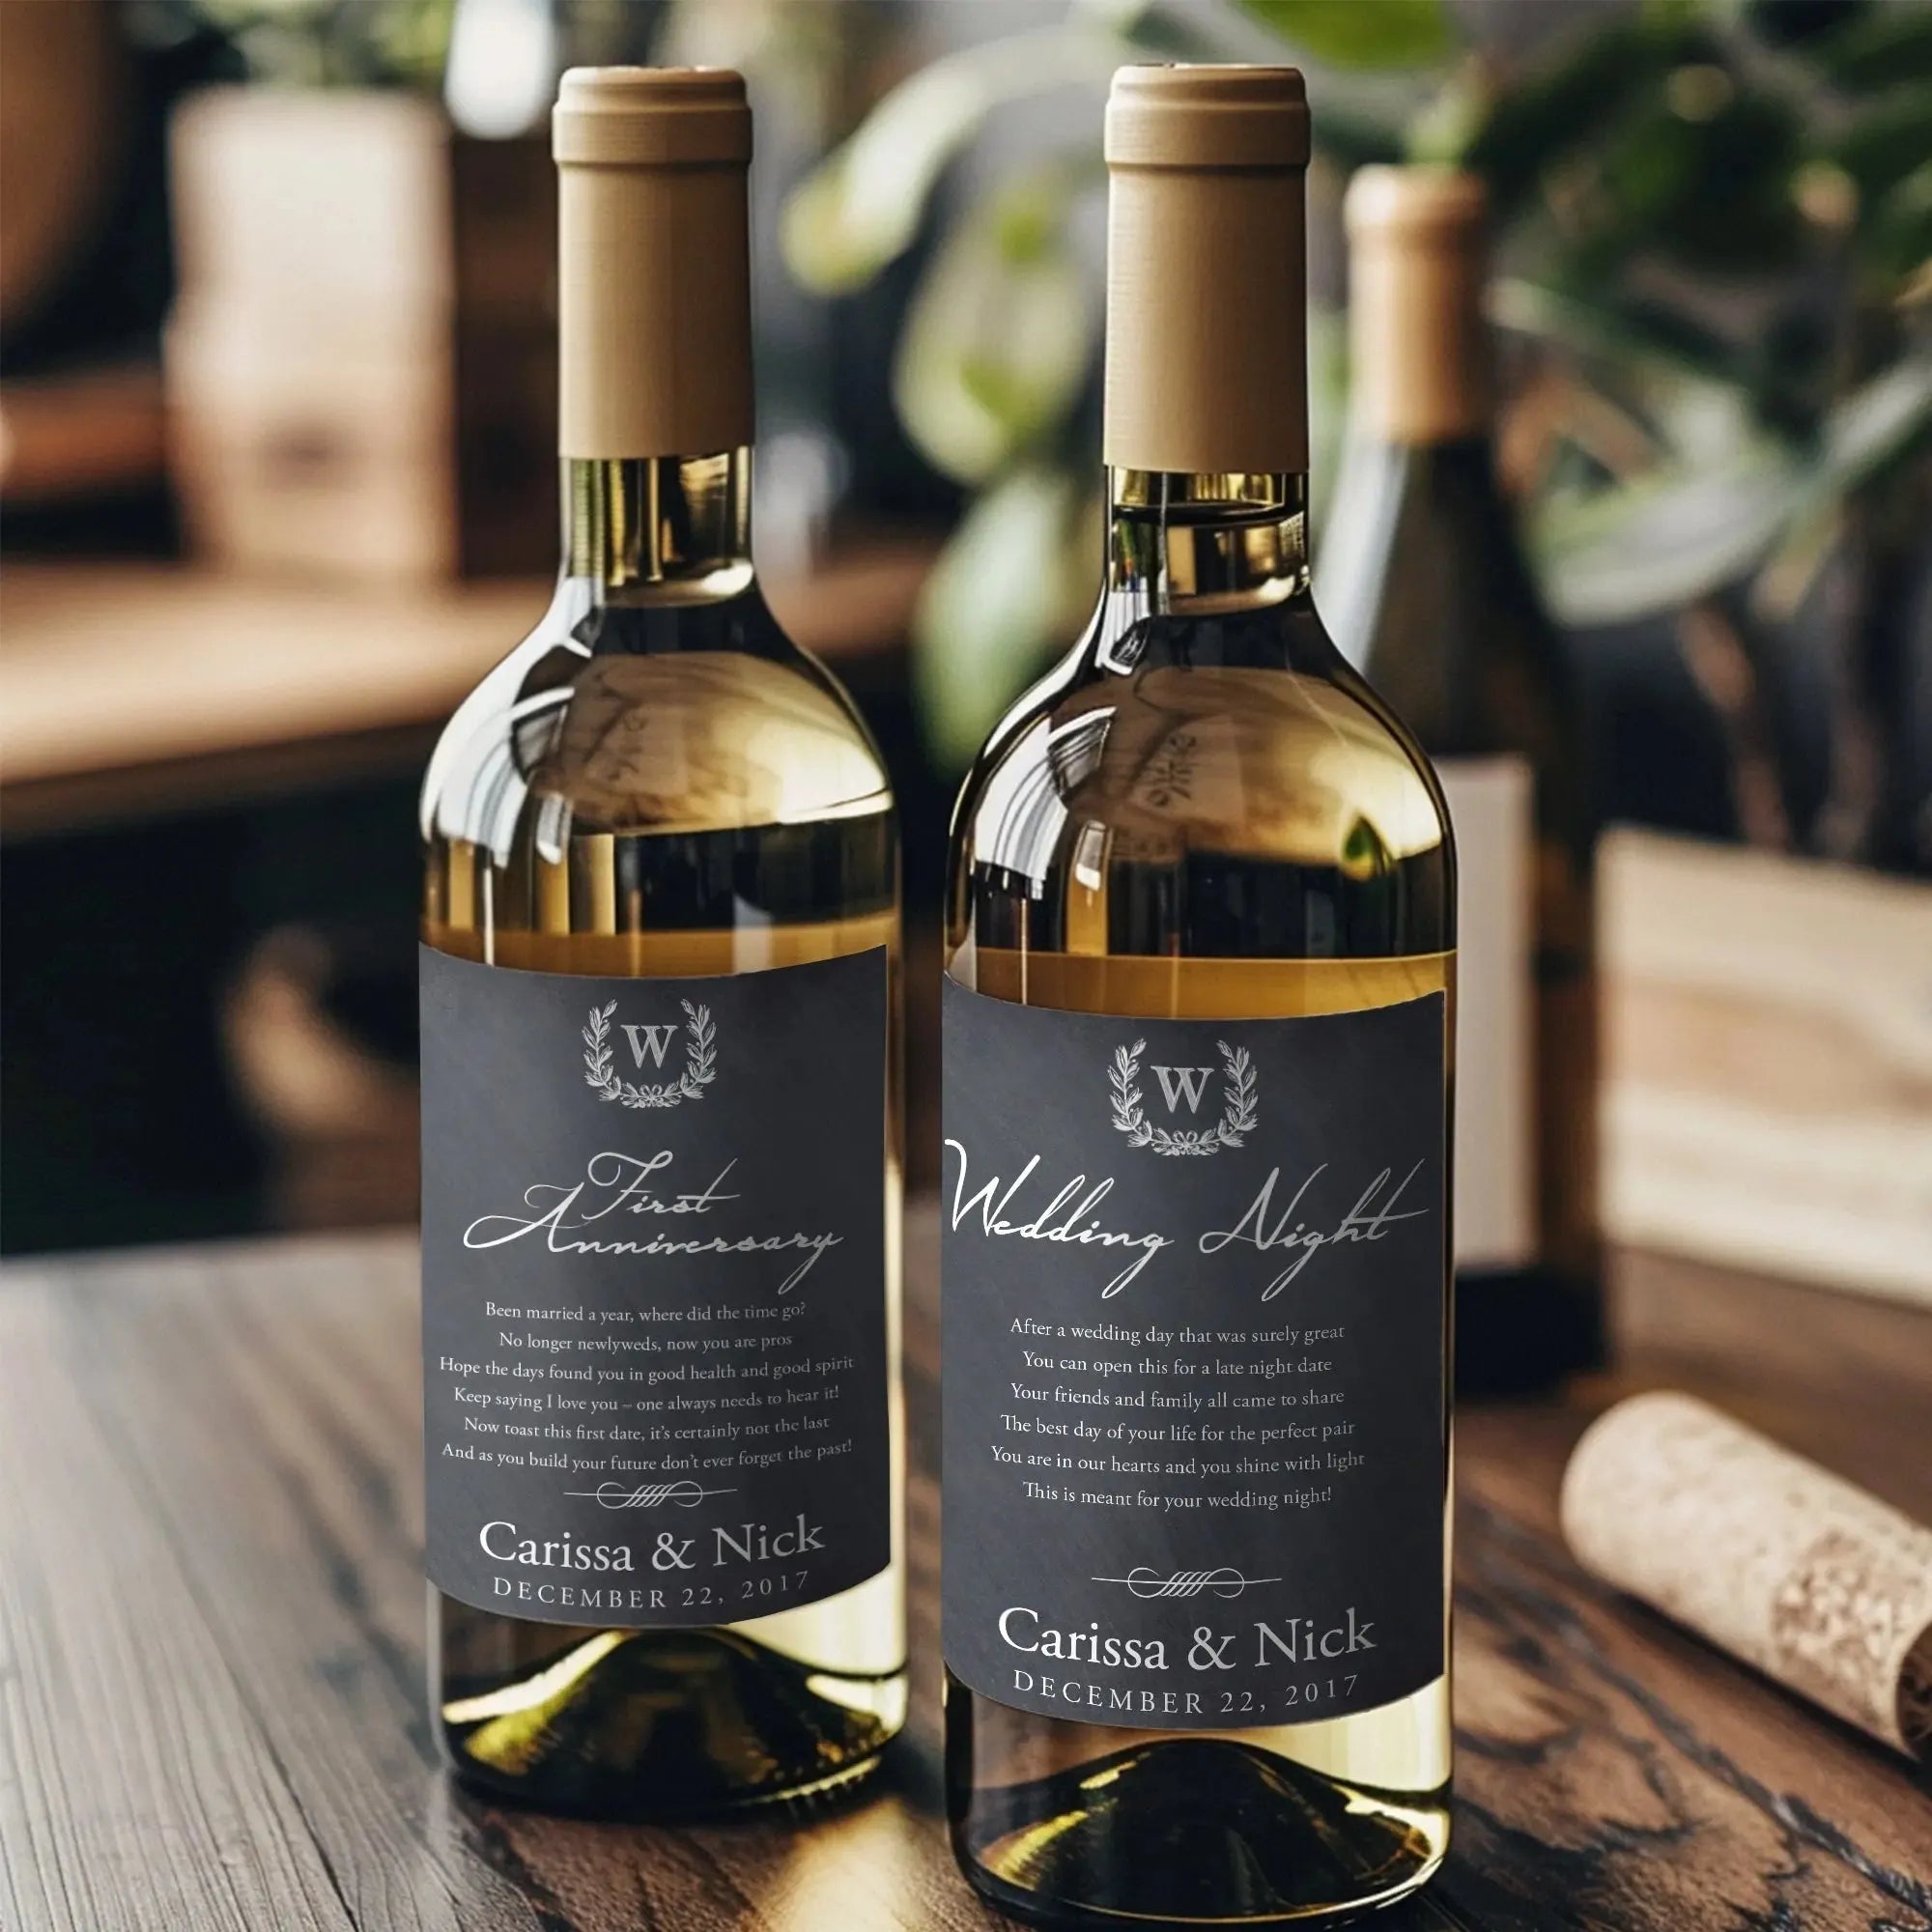
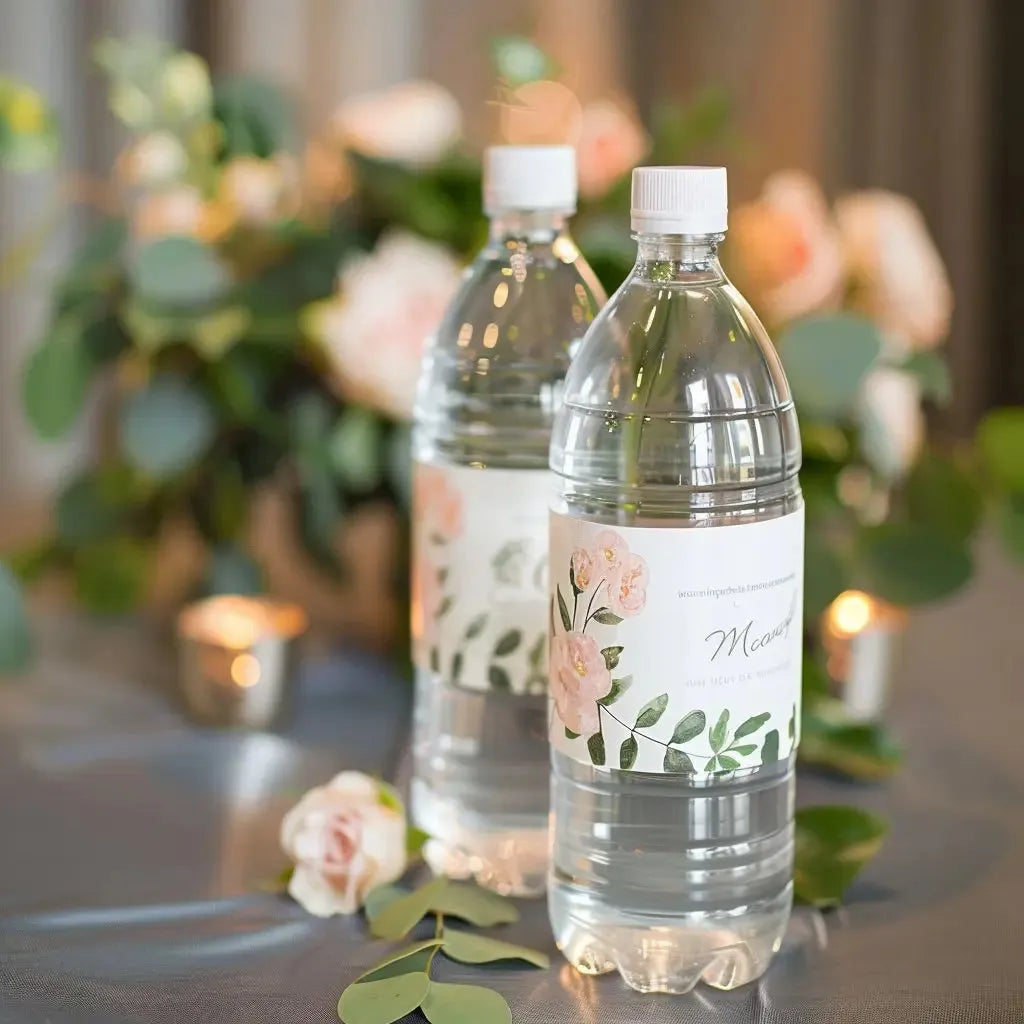
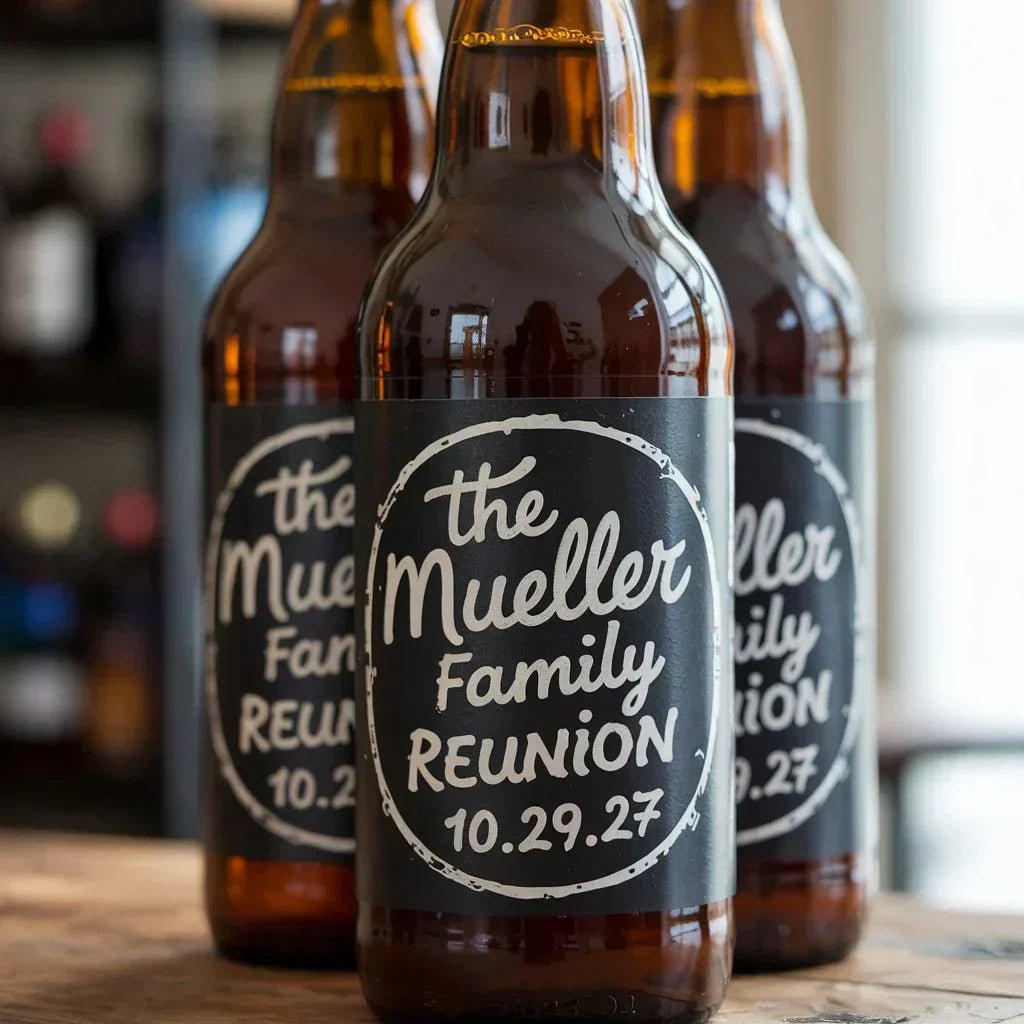
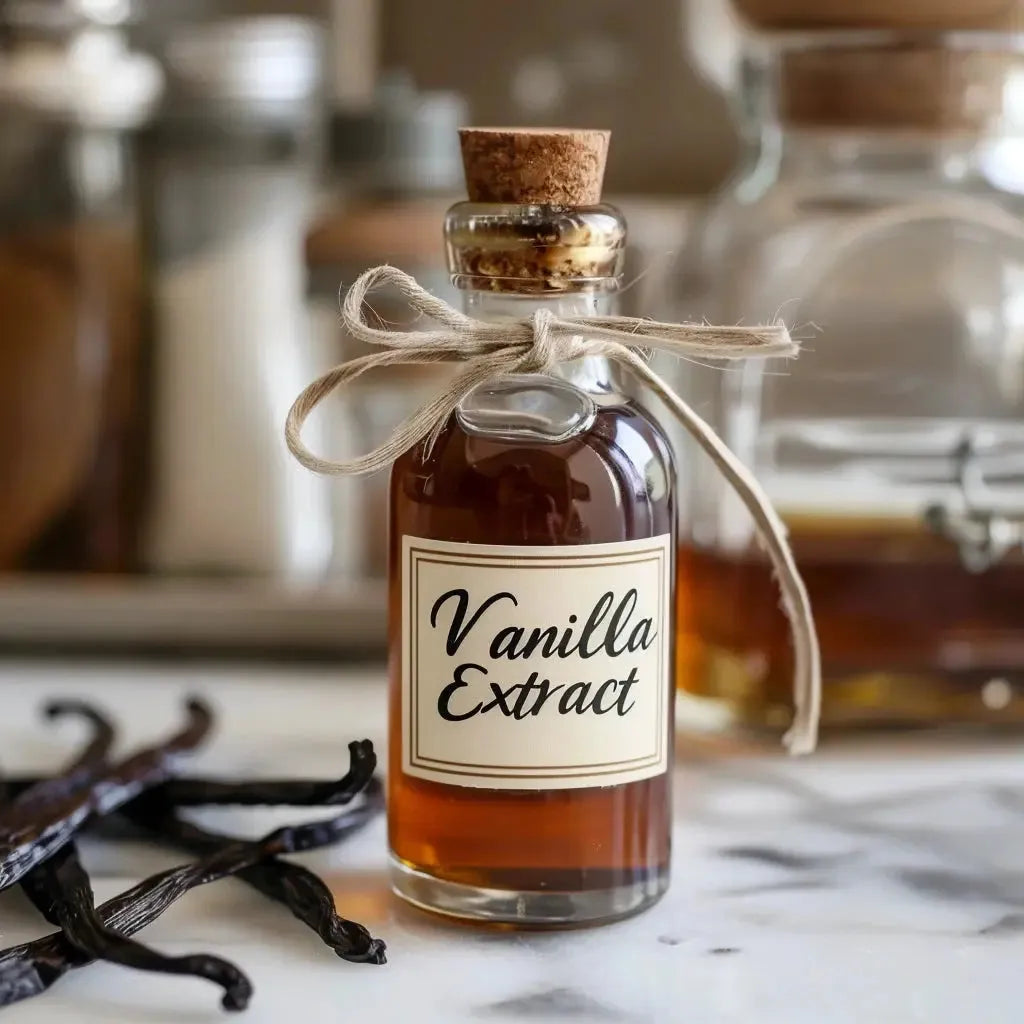
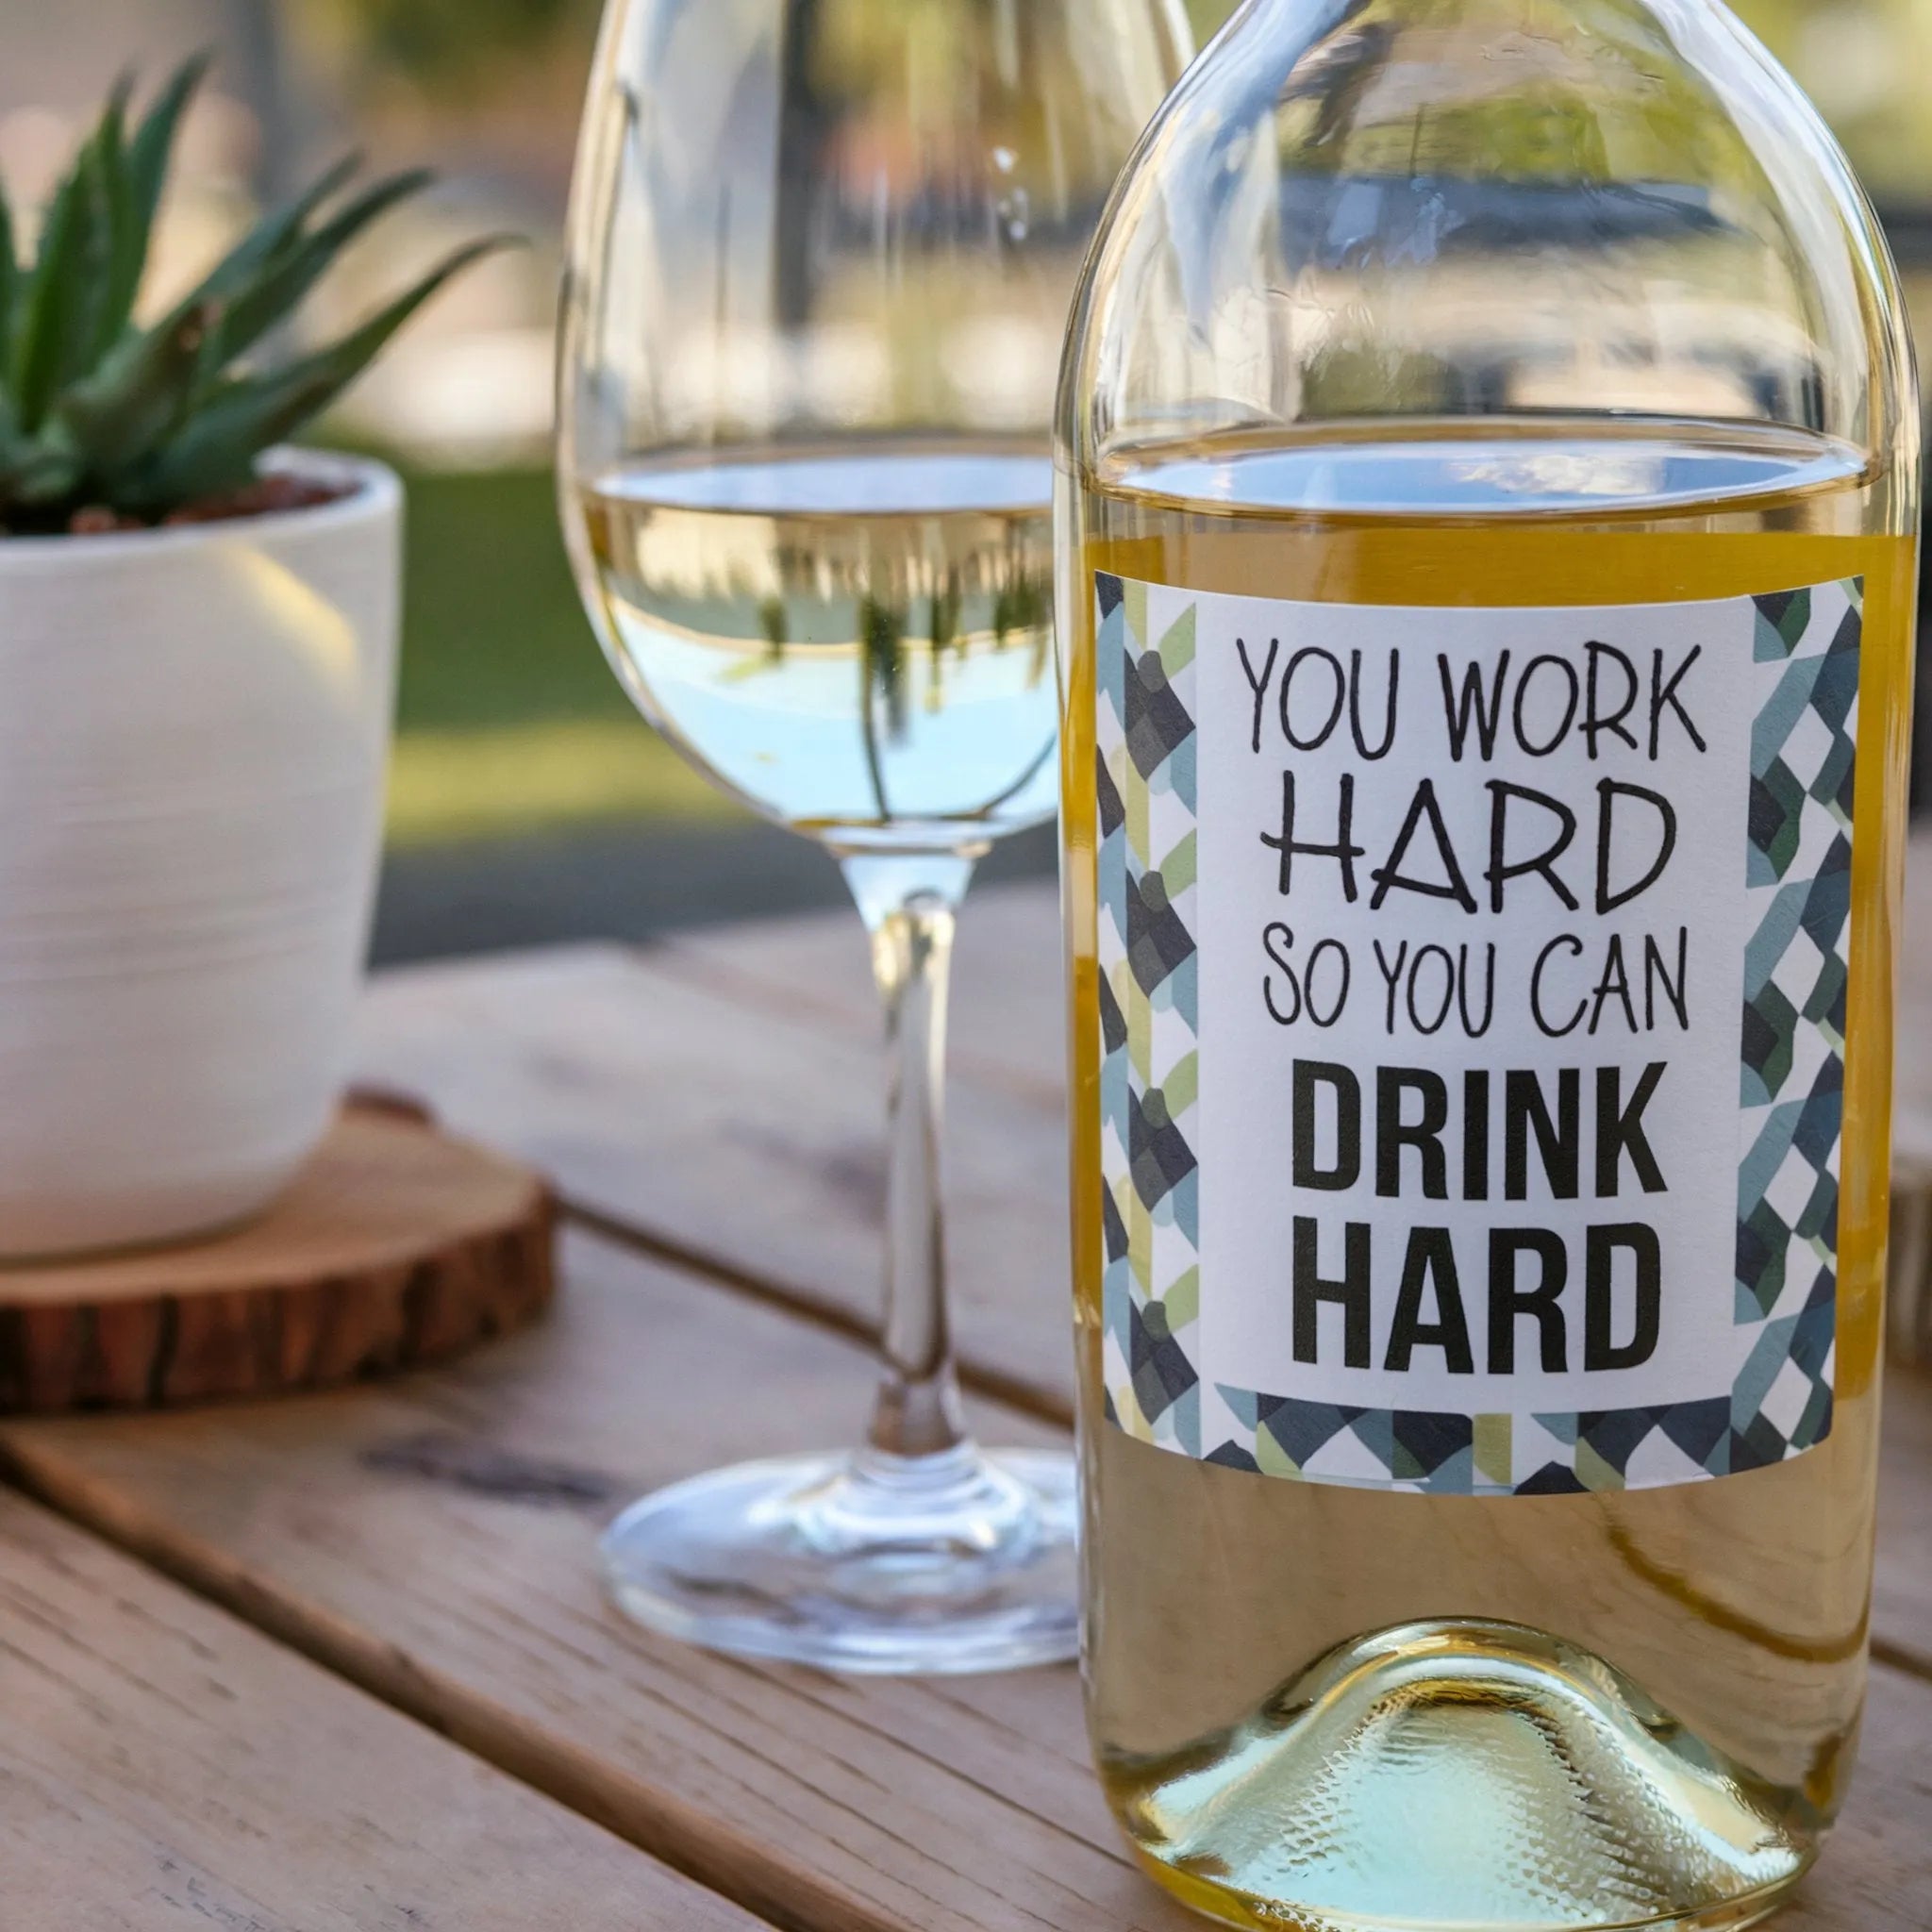
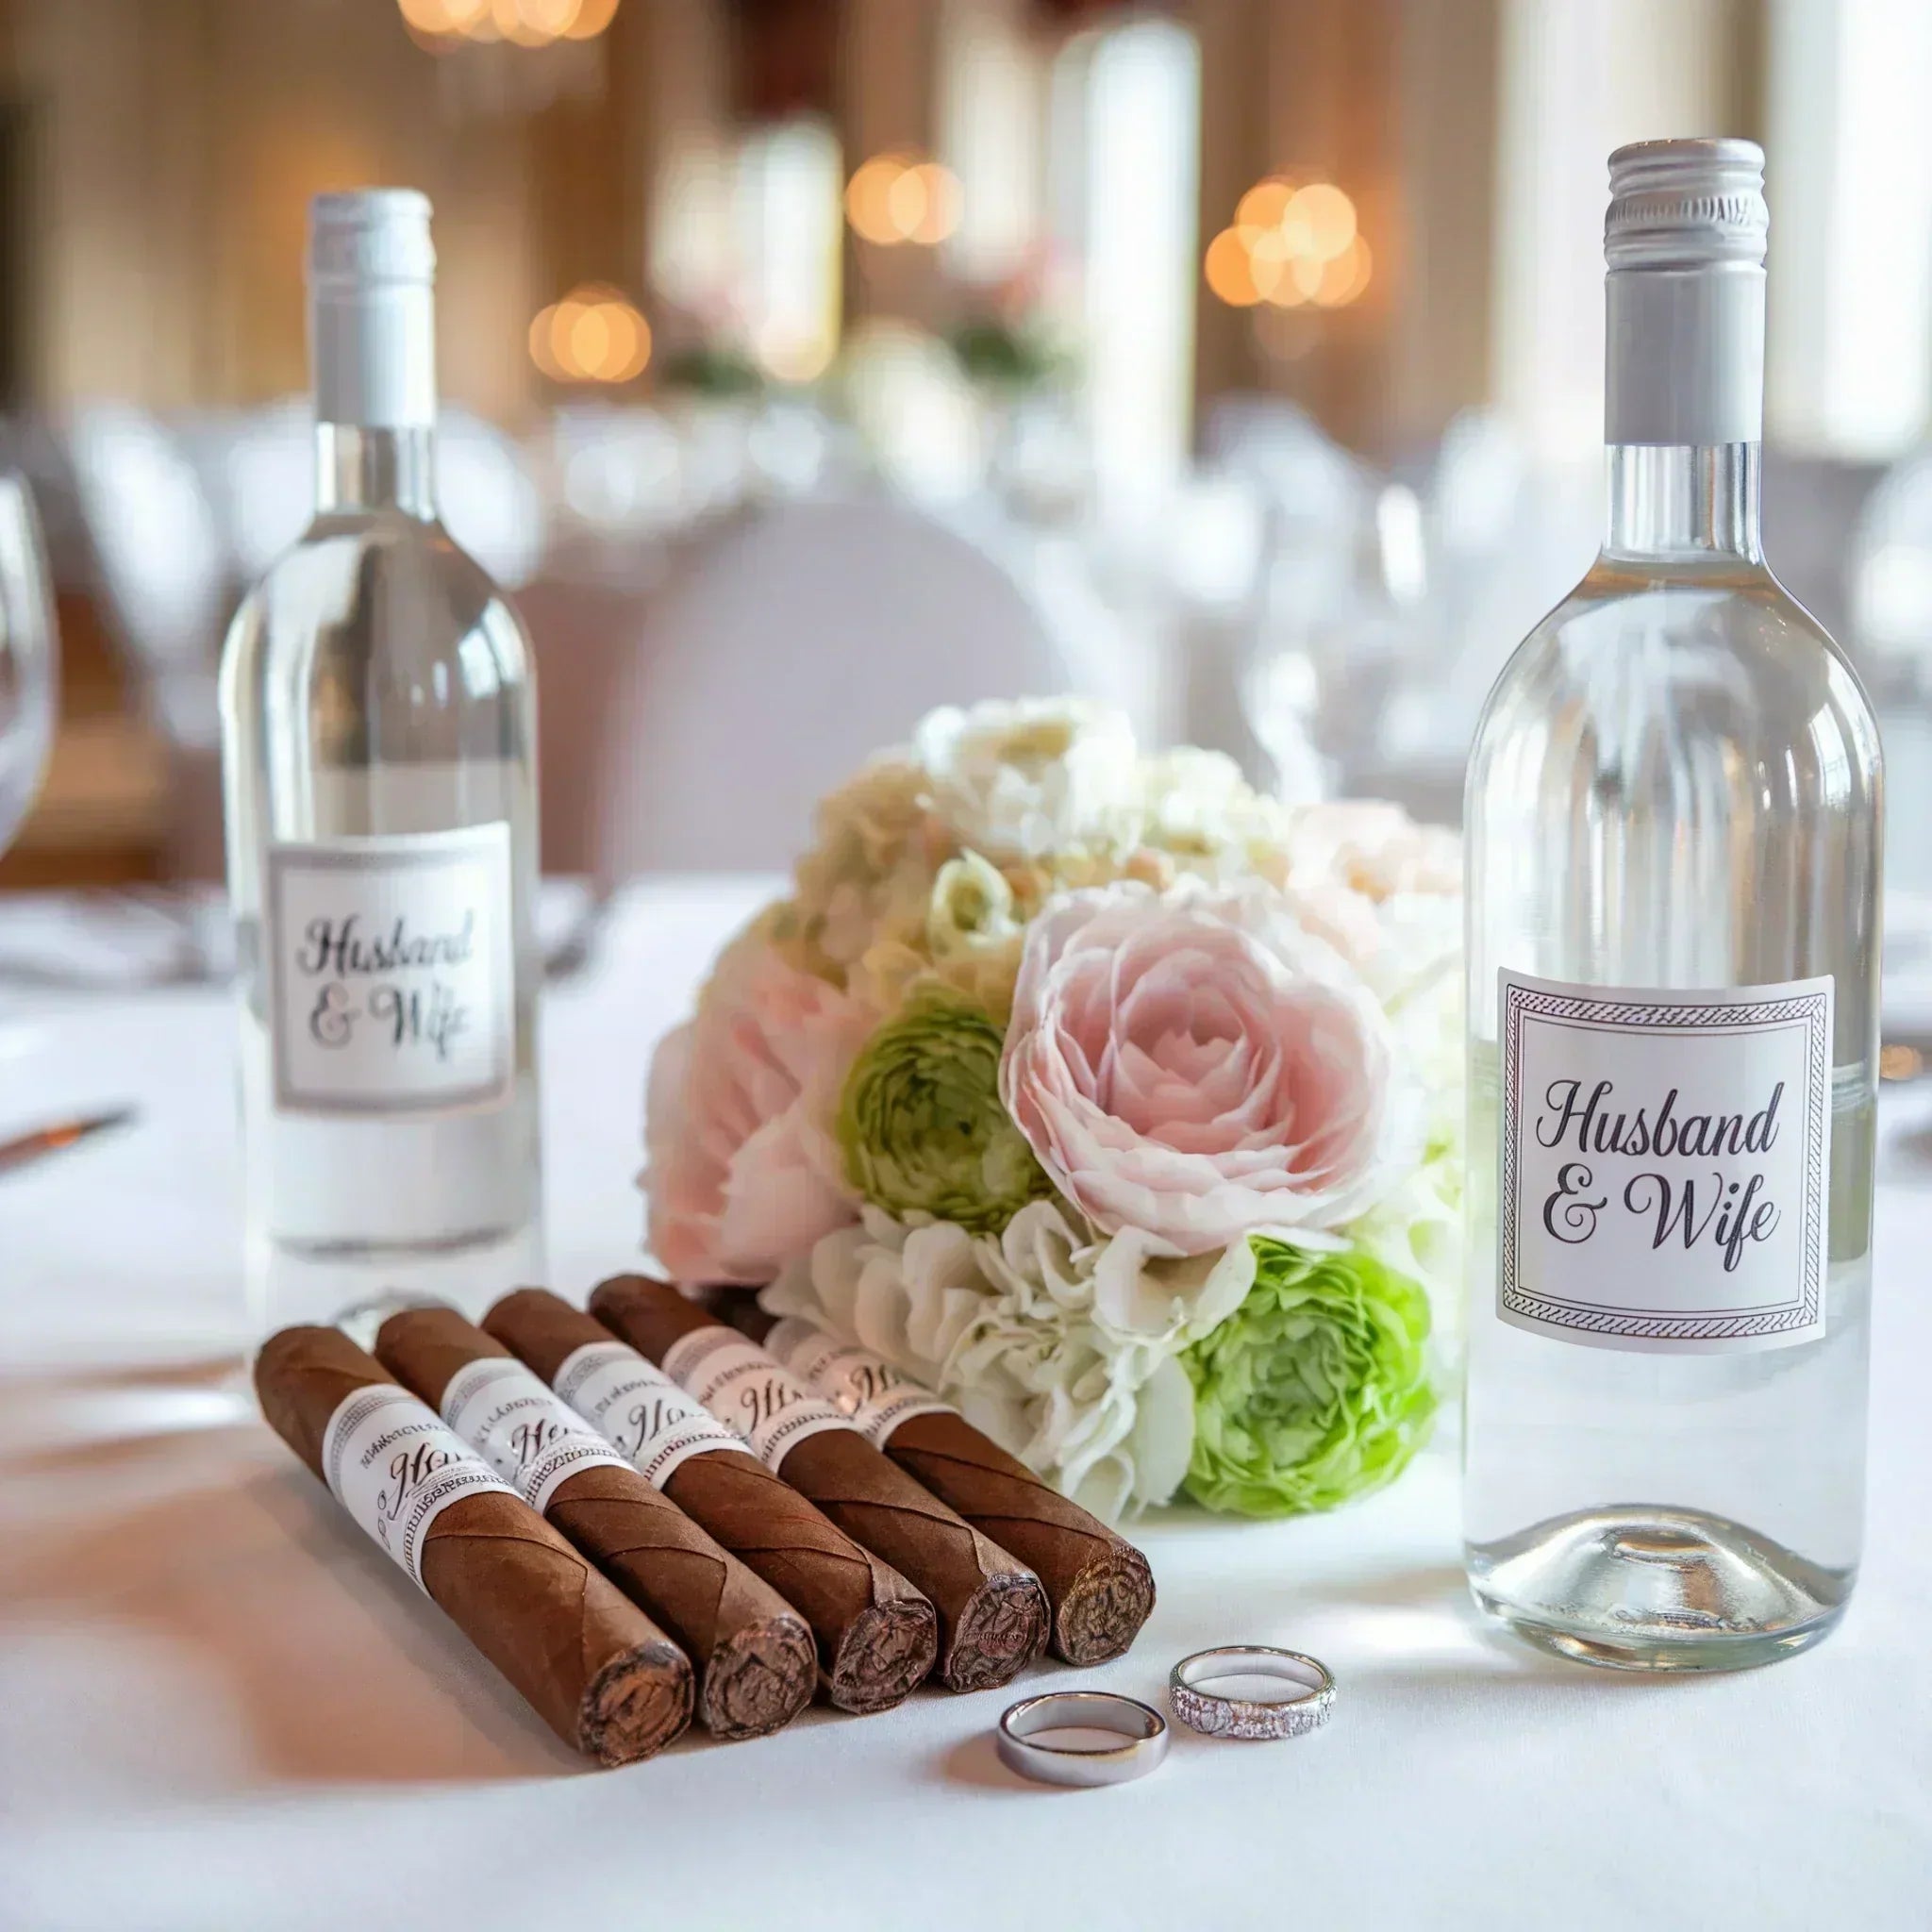
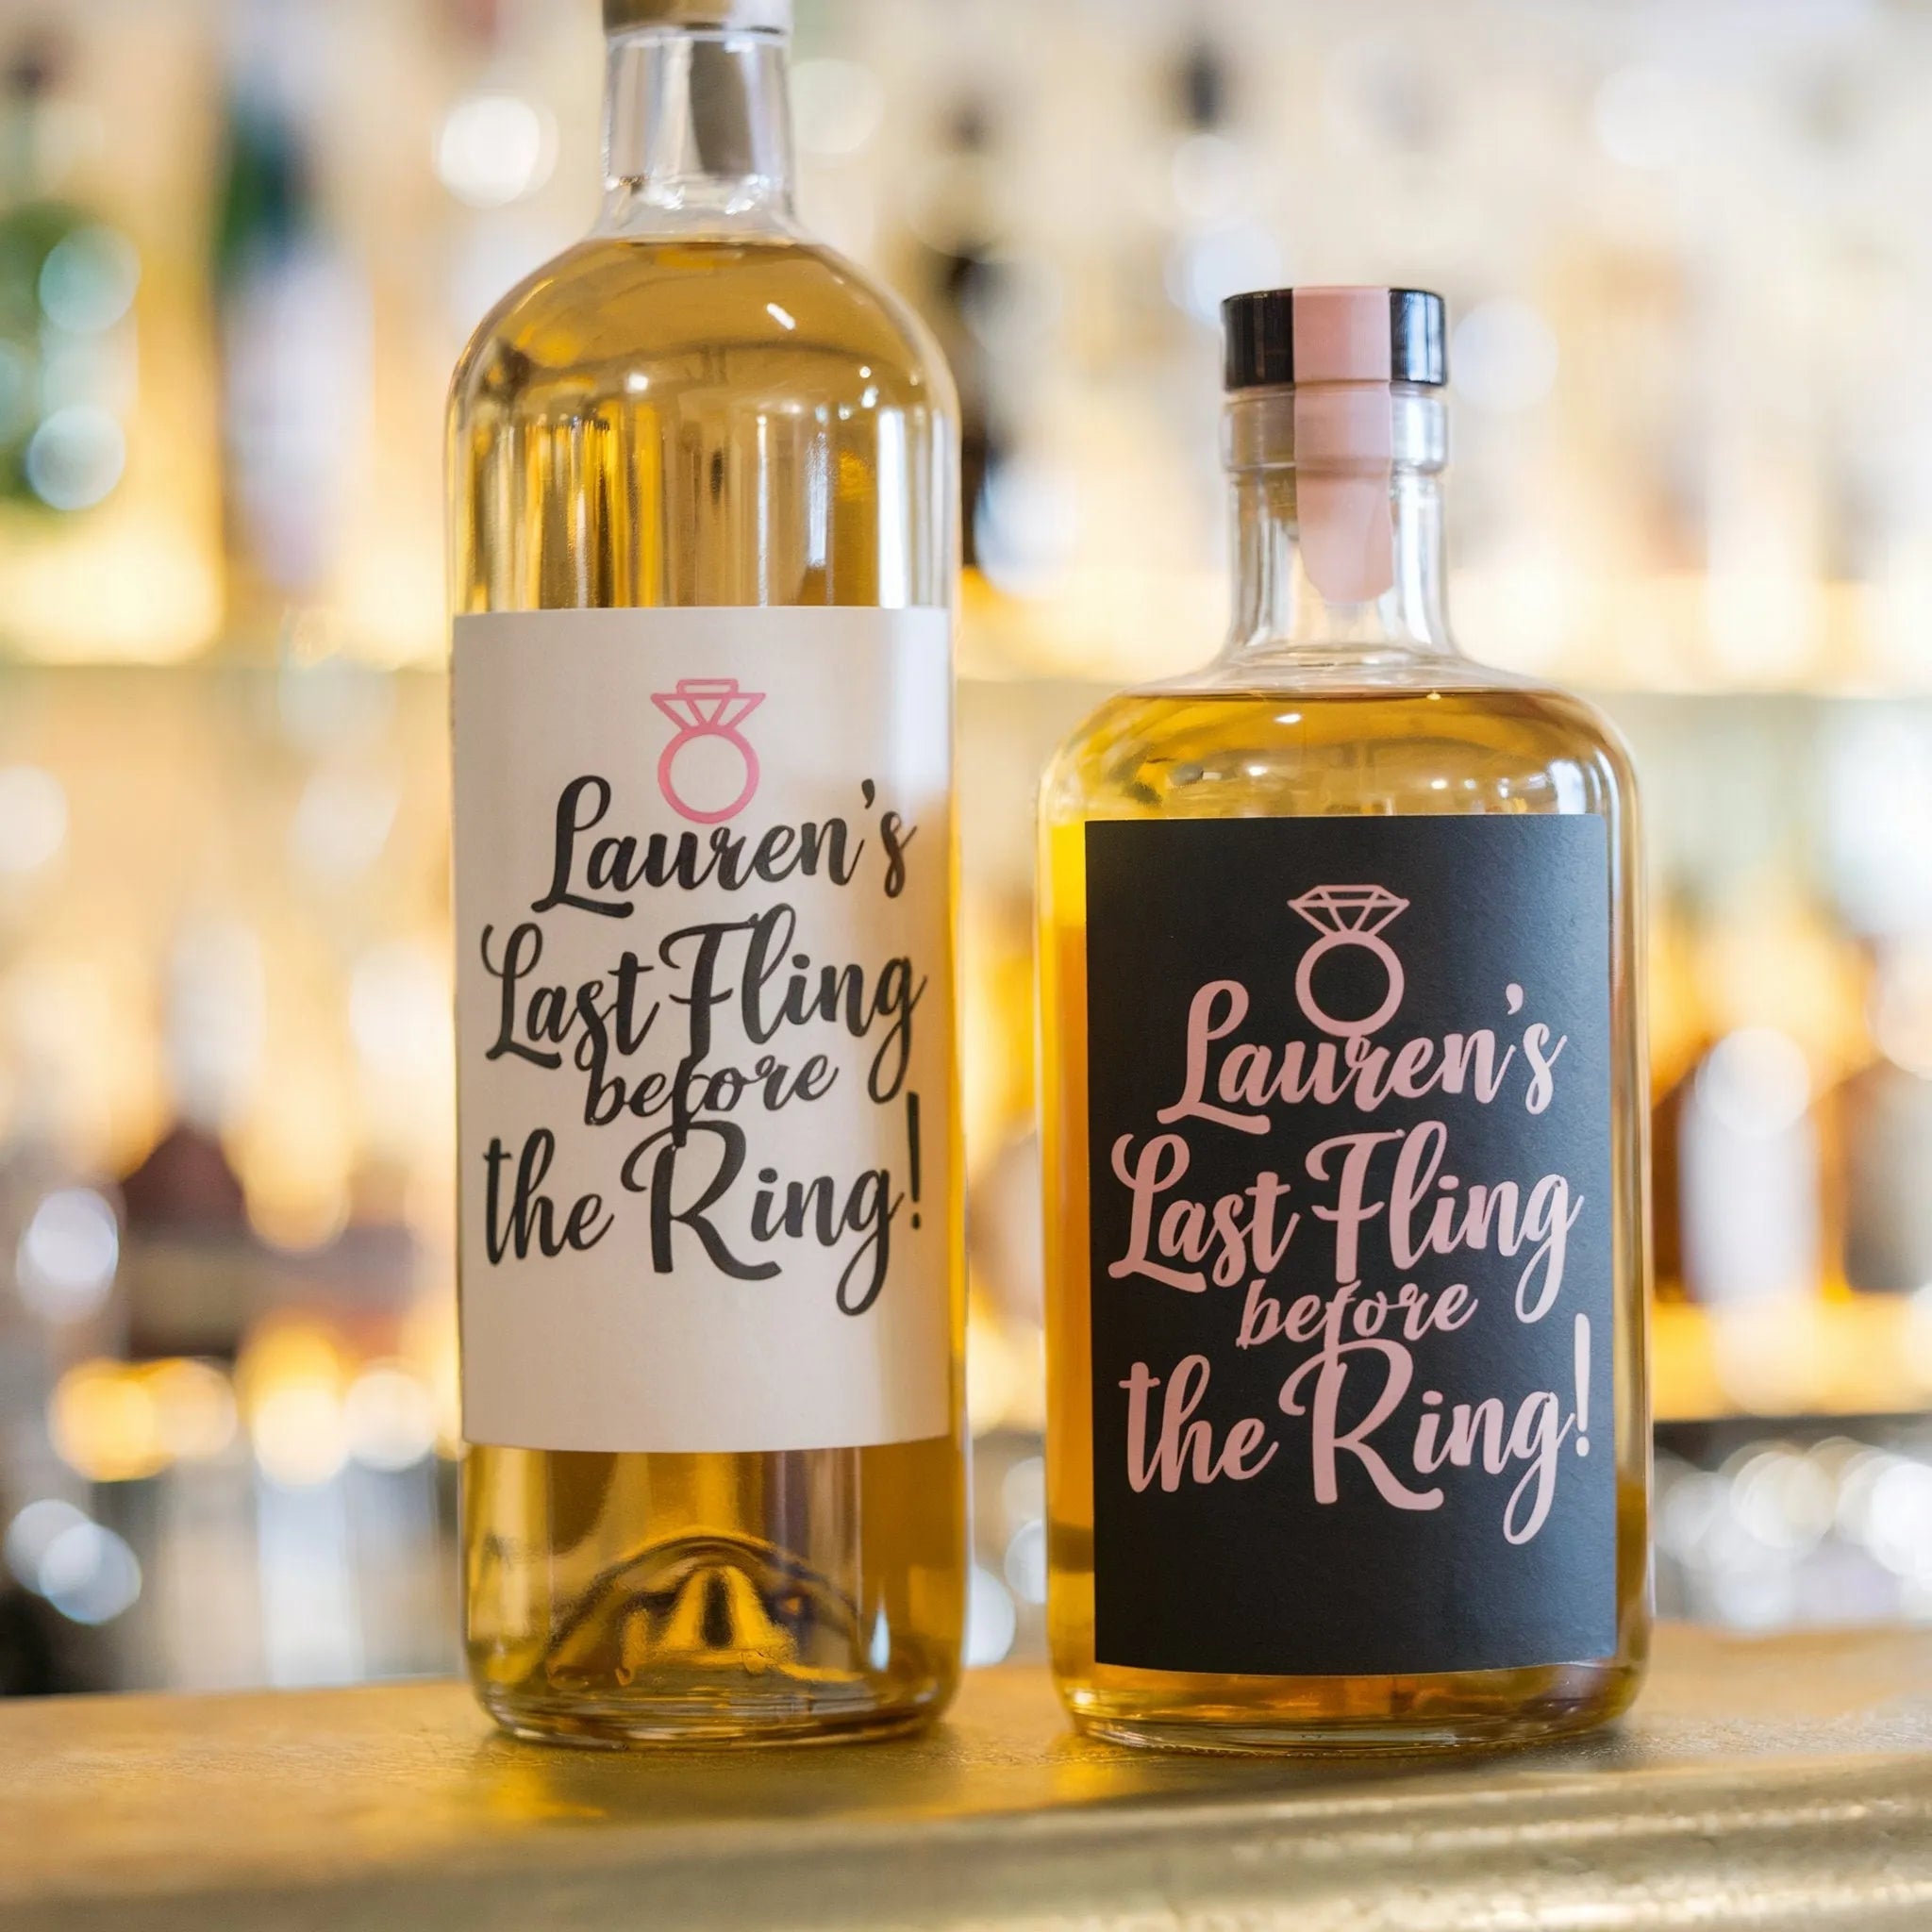
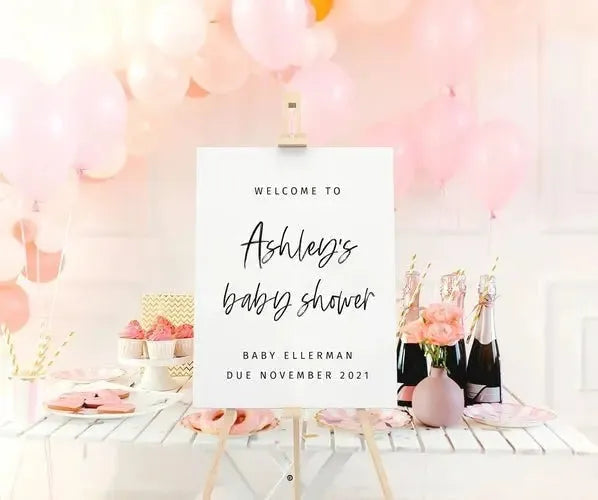
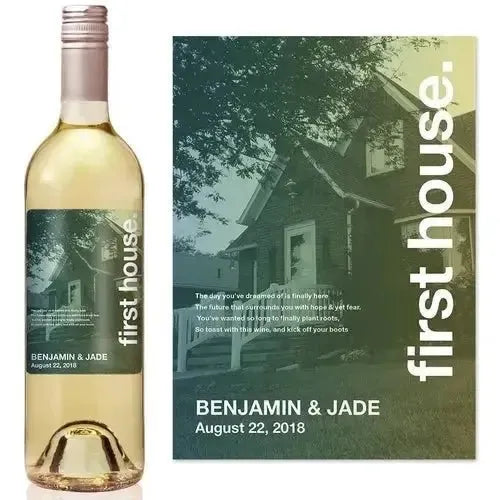
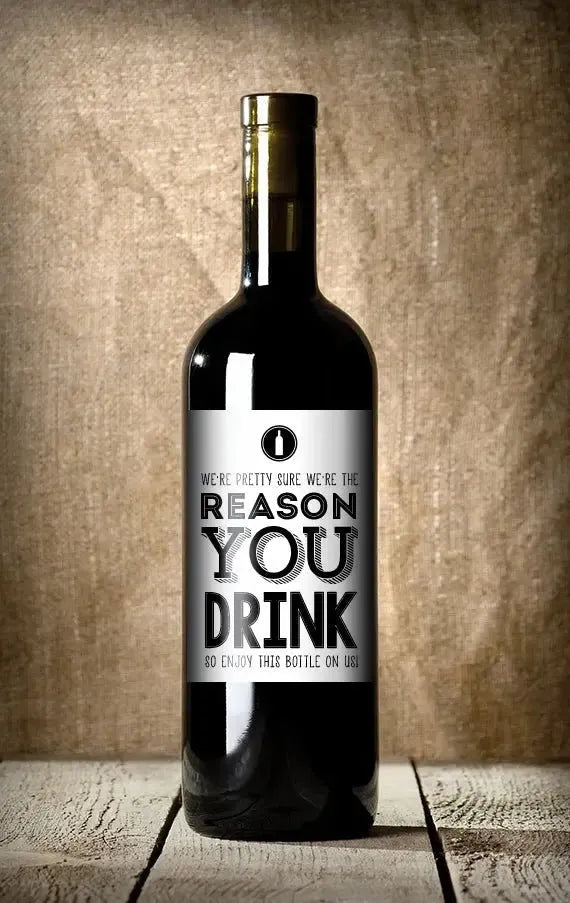
Custom water bottle labels are perfect for weddings, business promotions, birthdays, and other special occasions. They add a personal touch and make events more memorable. In this guide, we’ll walk you through the step-by-step process of designing and printing your own custom water bottle labels.
Why Use Custom Water Bottle Labels?
Custom labels for water bottles offer several benefits:
-
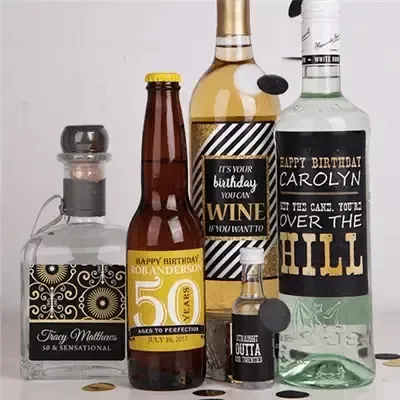
Personalized Branding: Ideal for businesses, events, and special occasions.
-
Professional Appearance: Enhances the look of any bottled beverage.
-
Affordable & Easy to Make: Cost-effective compared to pre-printed labels.
-
Water-Resistant Options Available: Ensures durability even in cold conditions.
-
Great for Marketing: Helps businesses enhance brand visibility at events or in stores.
-
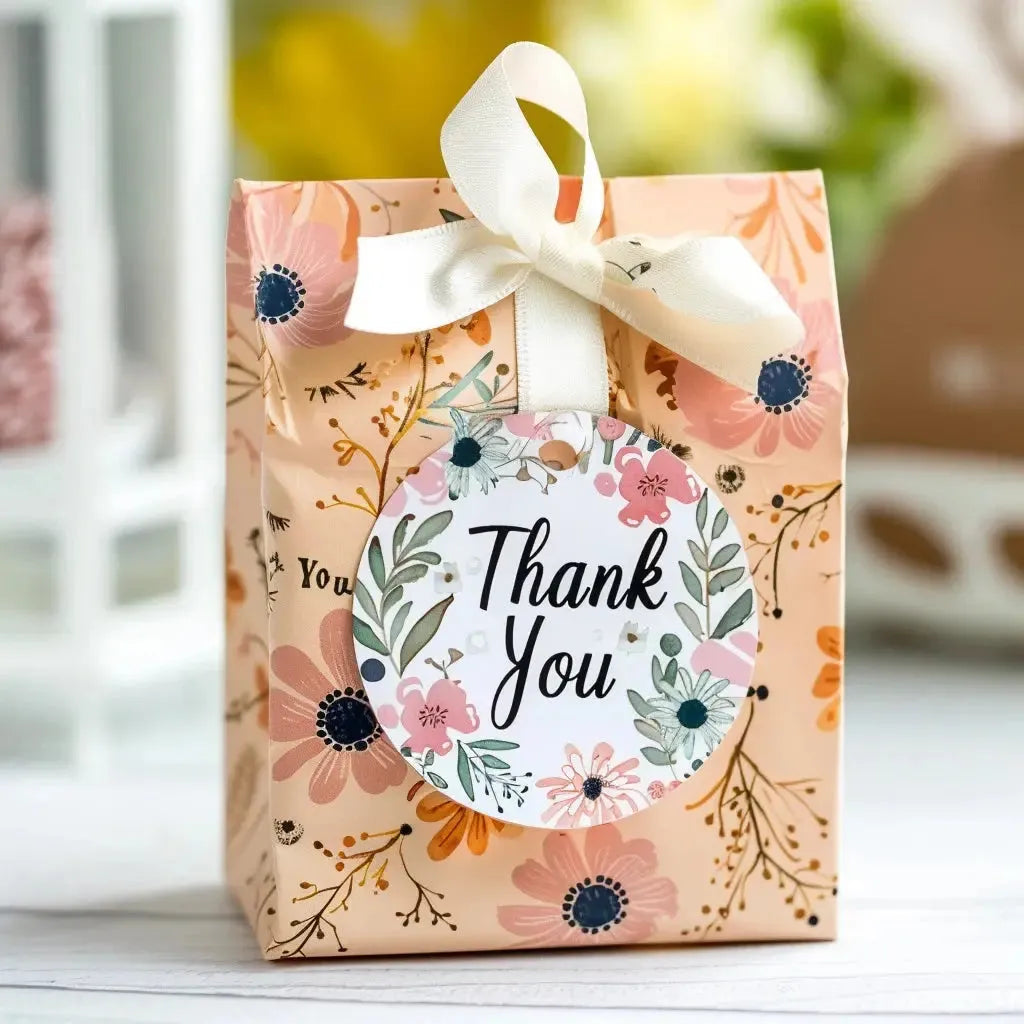
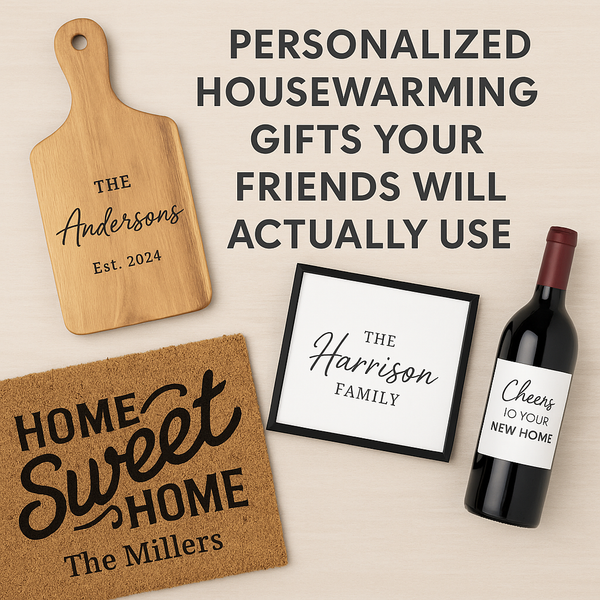
Perfect for Gifting: Adds a customized touch to party favors, wedding giveaways, and corporate events.
Step 1: Choose Your Label Size and Shape
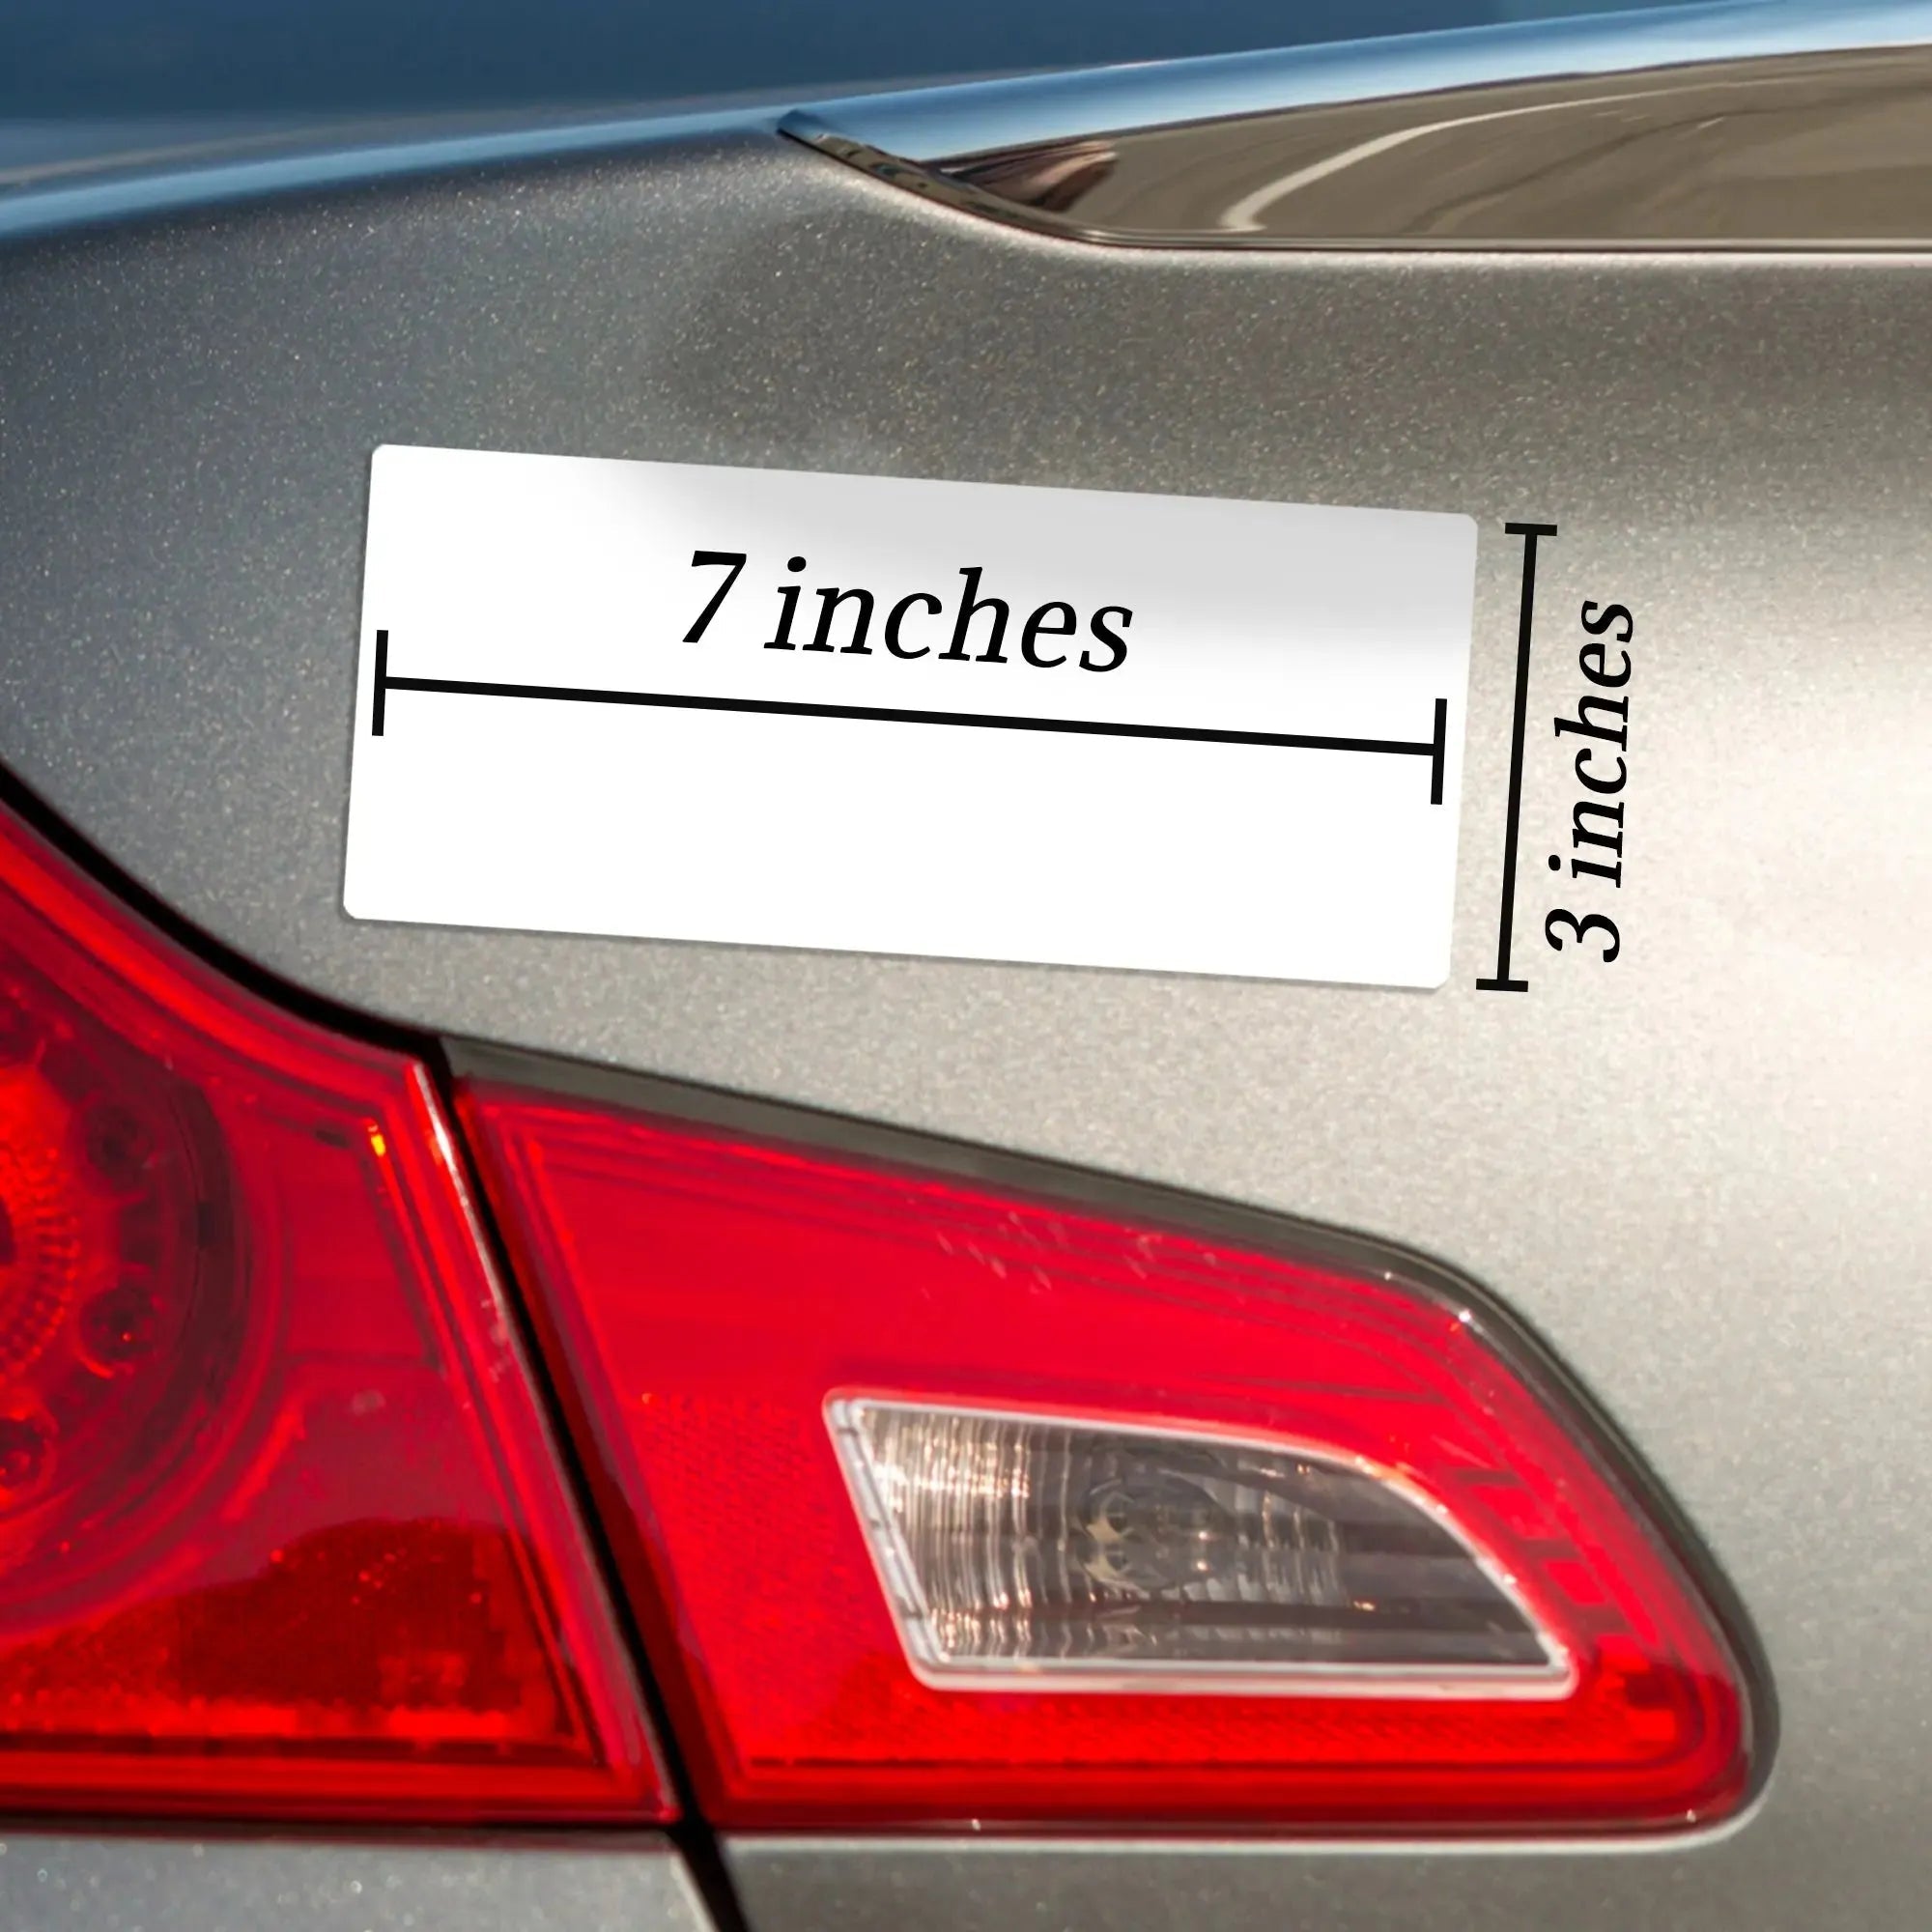
The first step in making custom water bottle labels is selecting the right size and shape. Standard water bottle label sizes include:
-
8.25” x 1.75” – Fits most 16.9 oz bottles
-
8” x 2” – Suitable for standard bottles
-
7.5” x 1.5” – Great for mini water bottles
Make sure to measure your bottle to ensure a perfect fit. If you’re unsure about sizing, you can print a test label on regular paper and wrap it around your bottle before finalizing your order.
Step 2: Design Your Label
When designing your custom water bottle labels, keep these elements in mind:
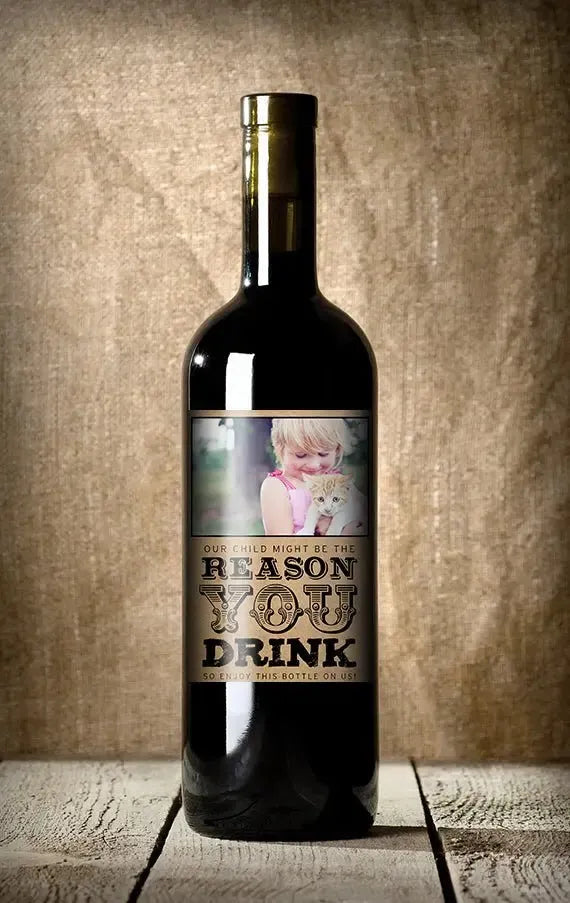
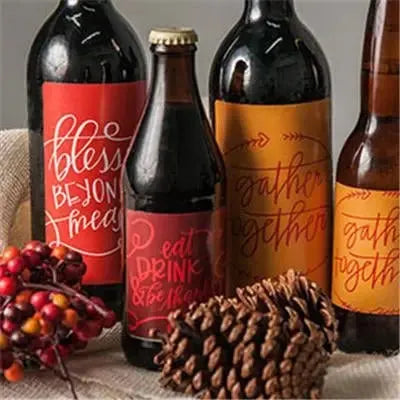
1. Choose a Theme or Style
-
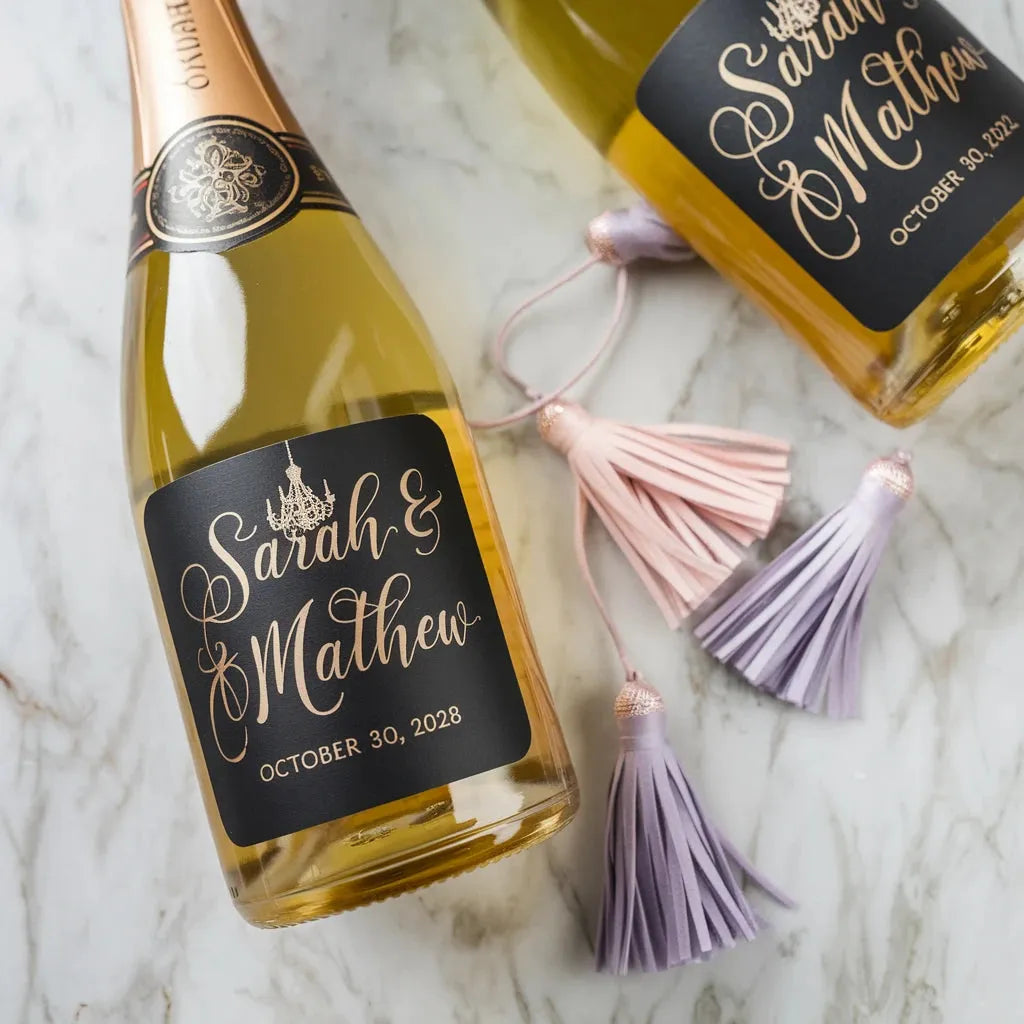
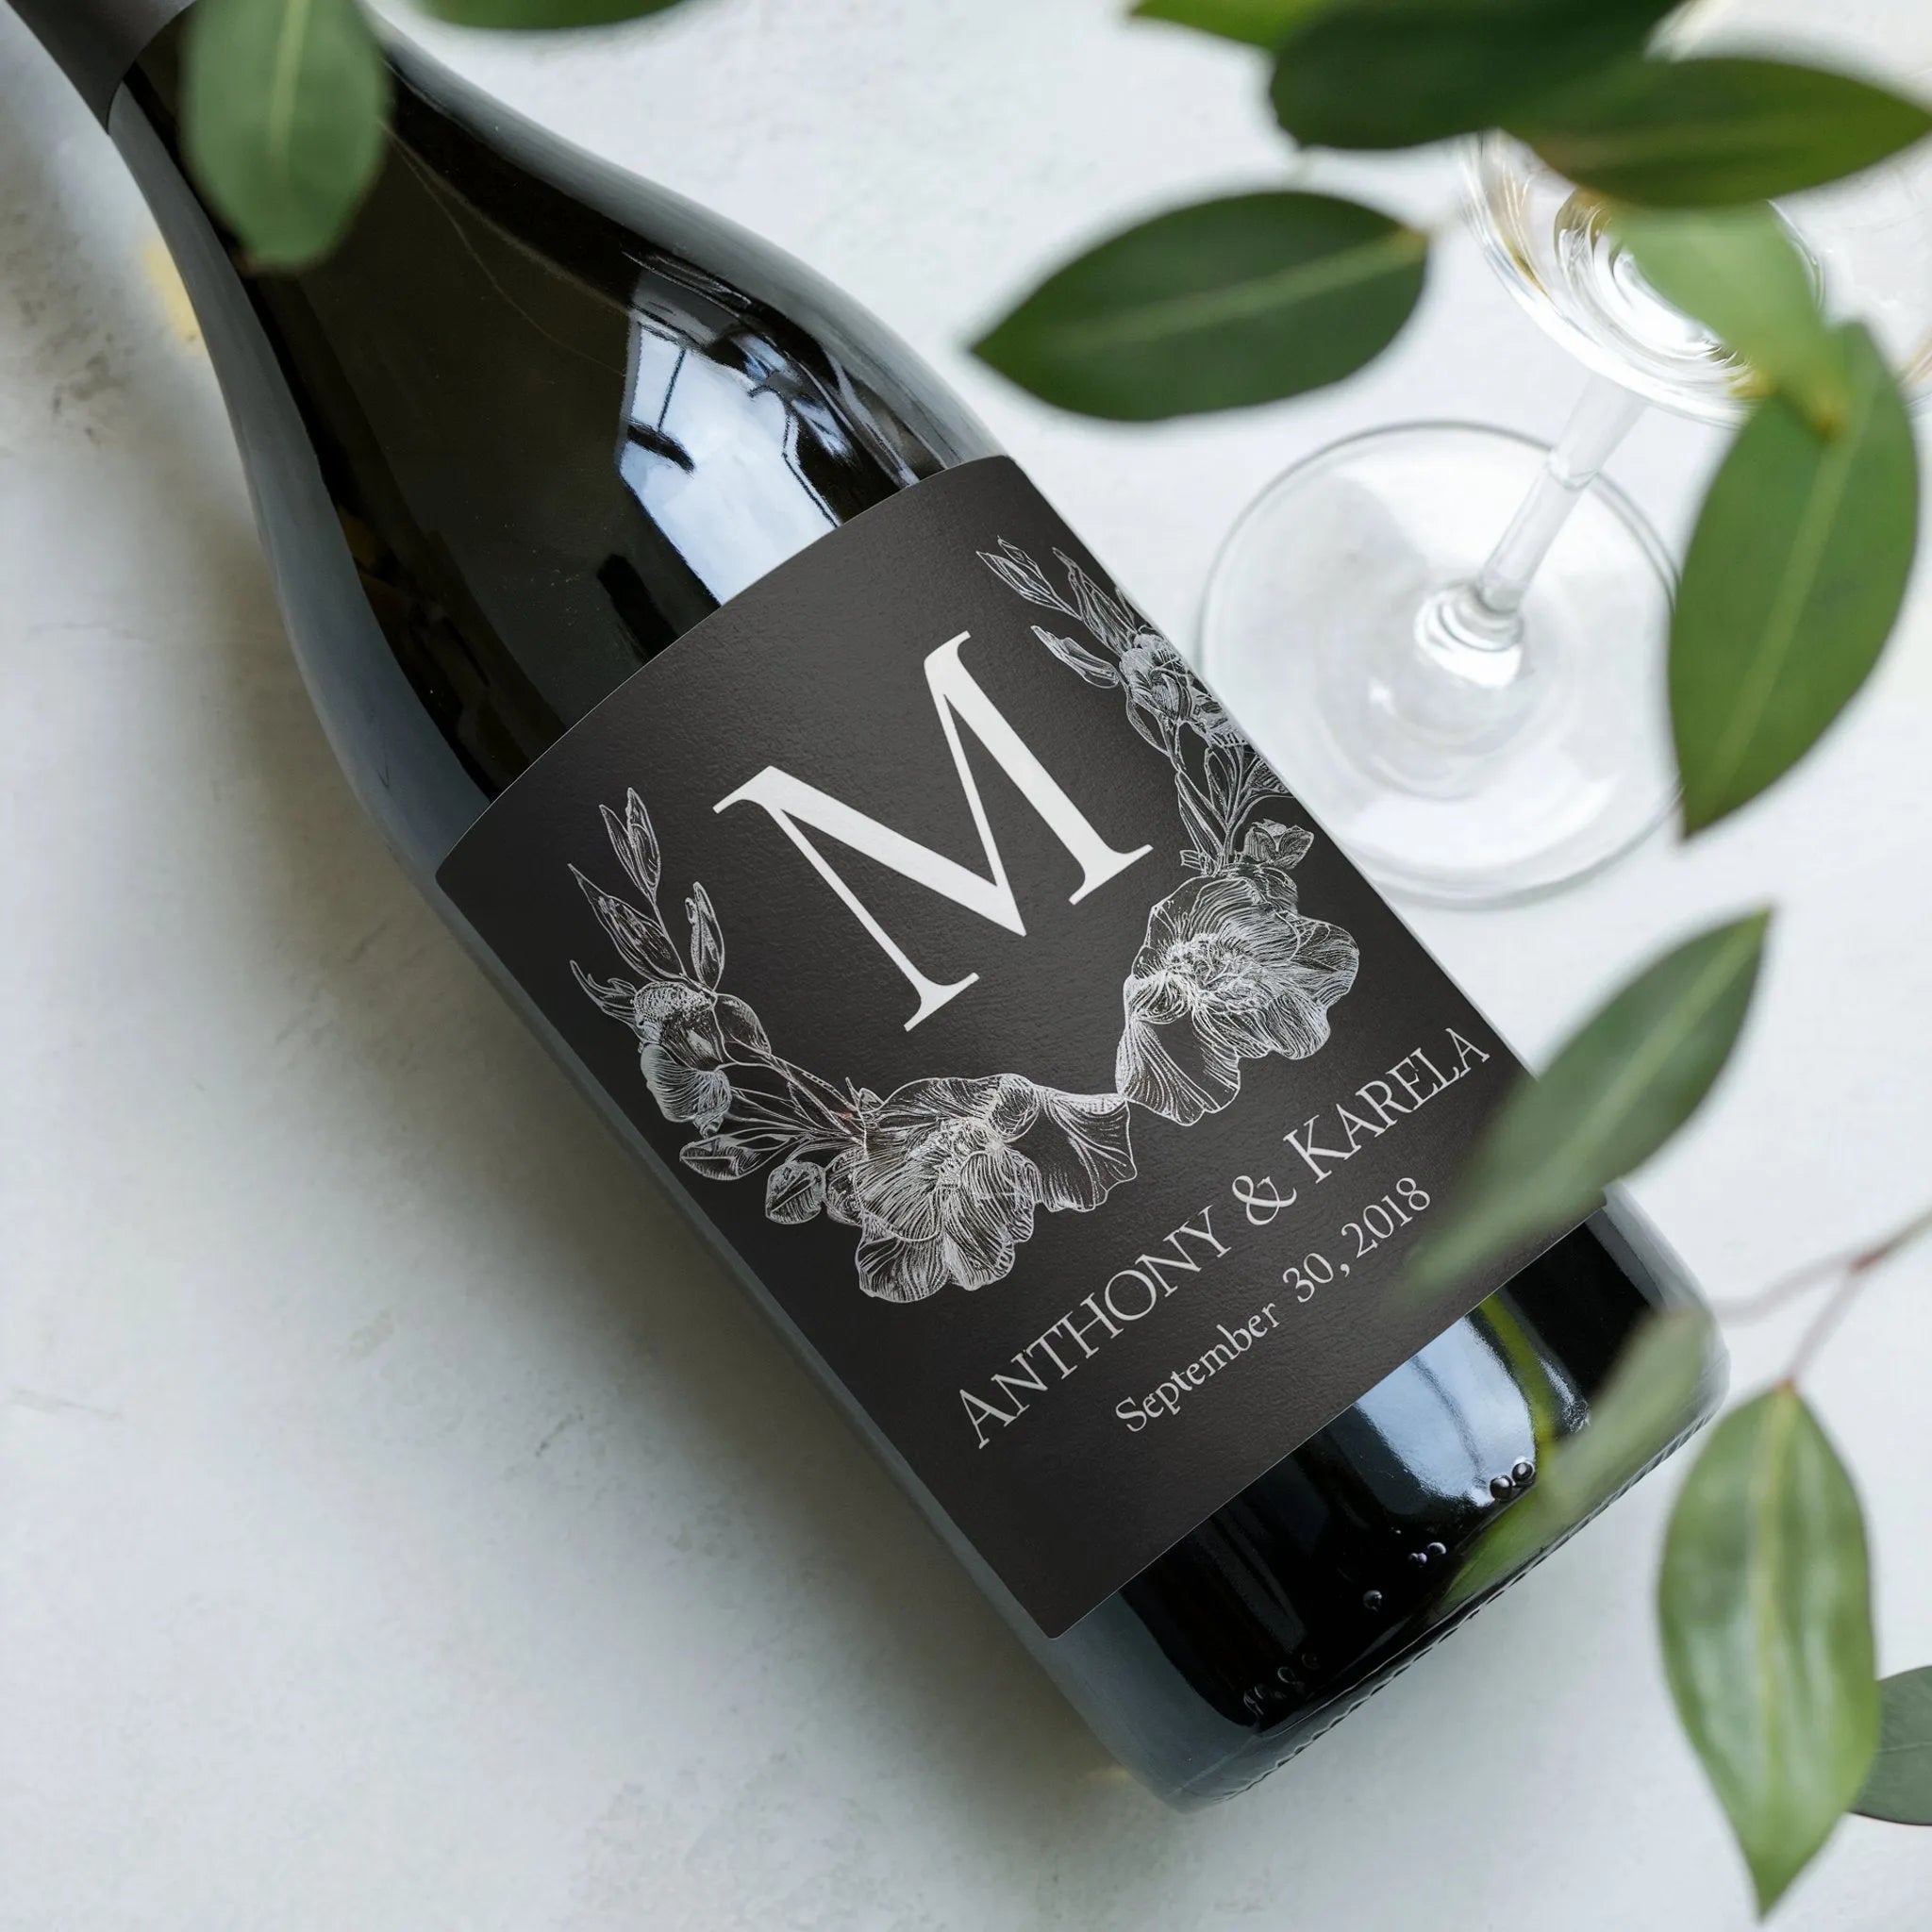
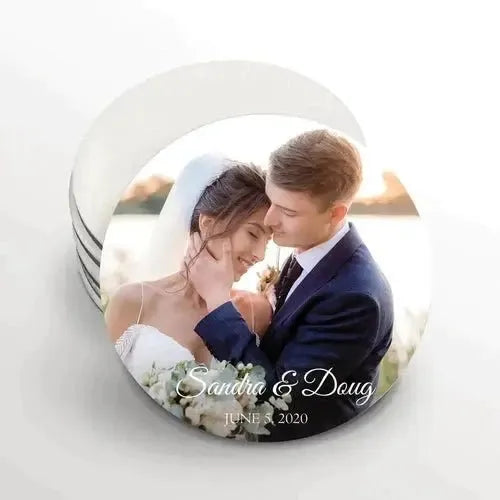
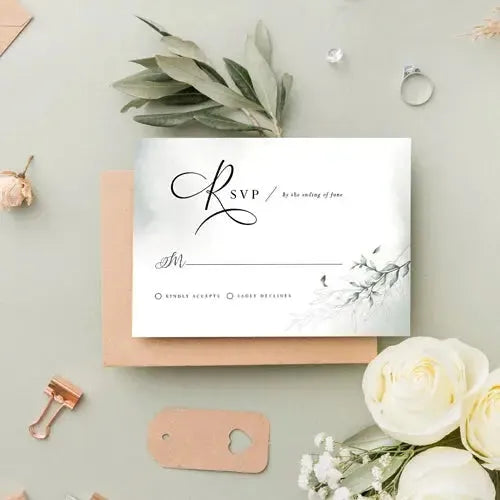
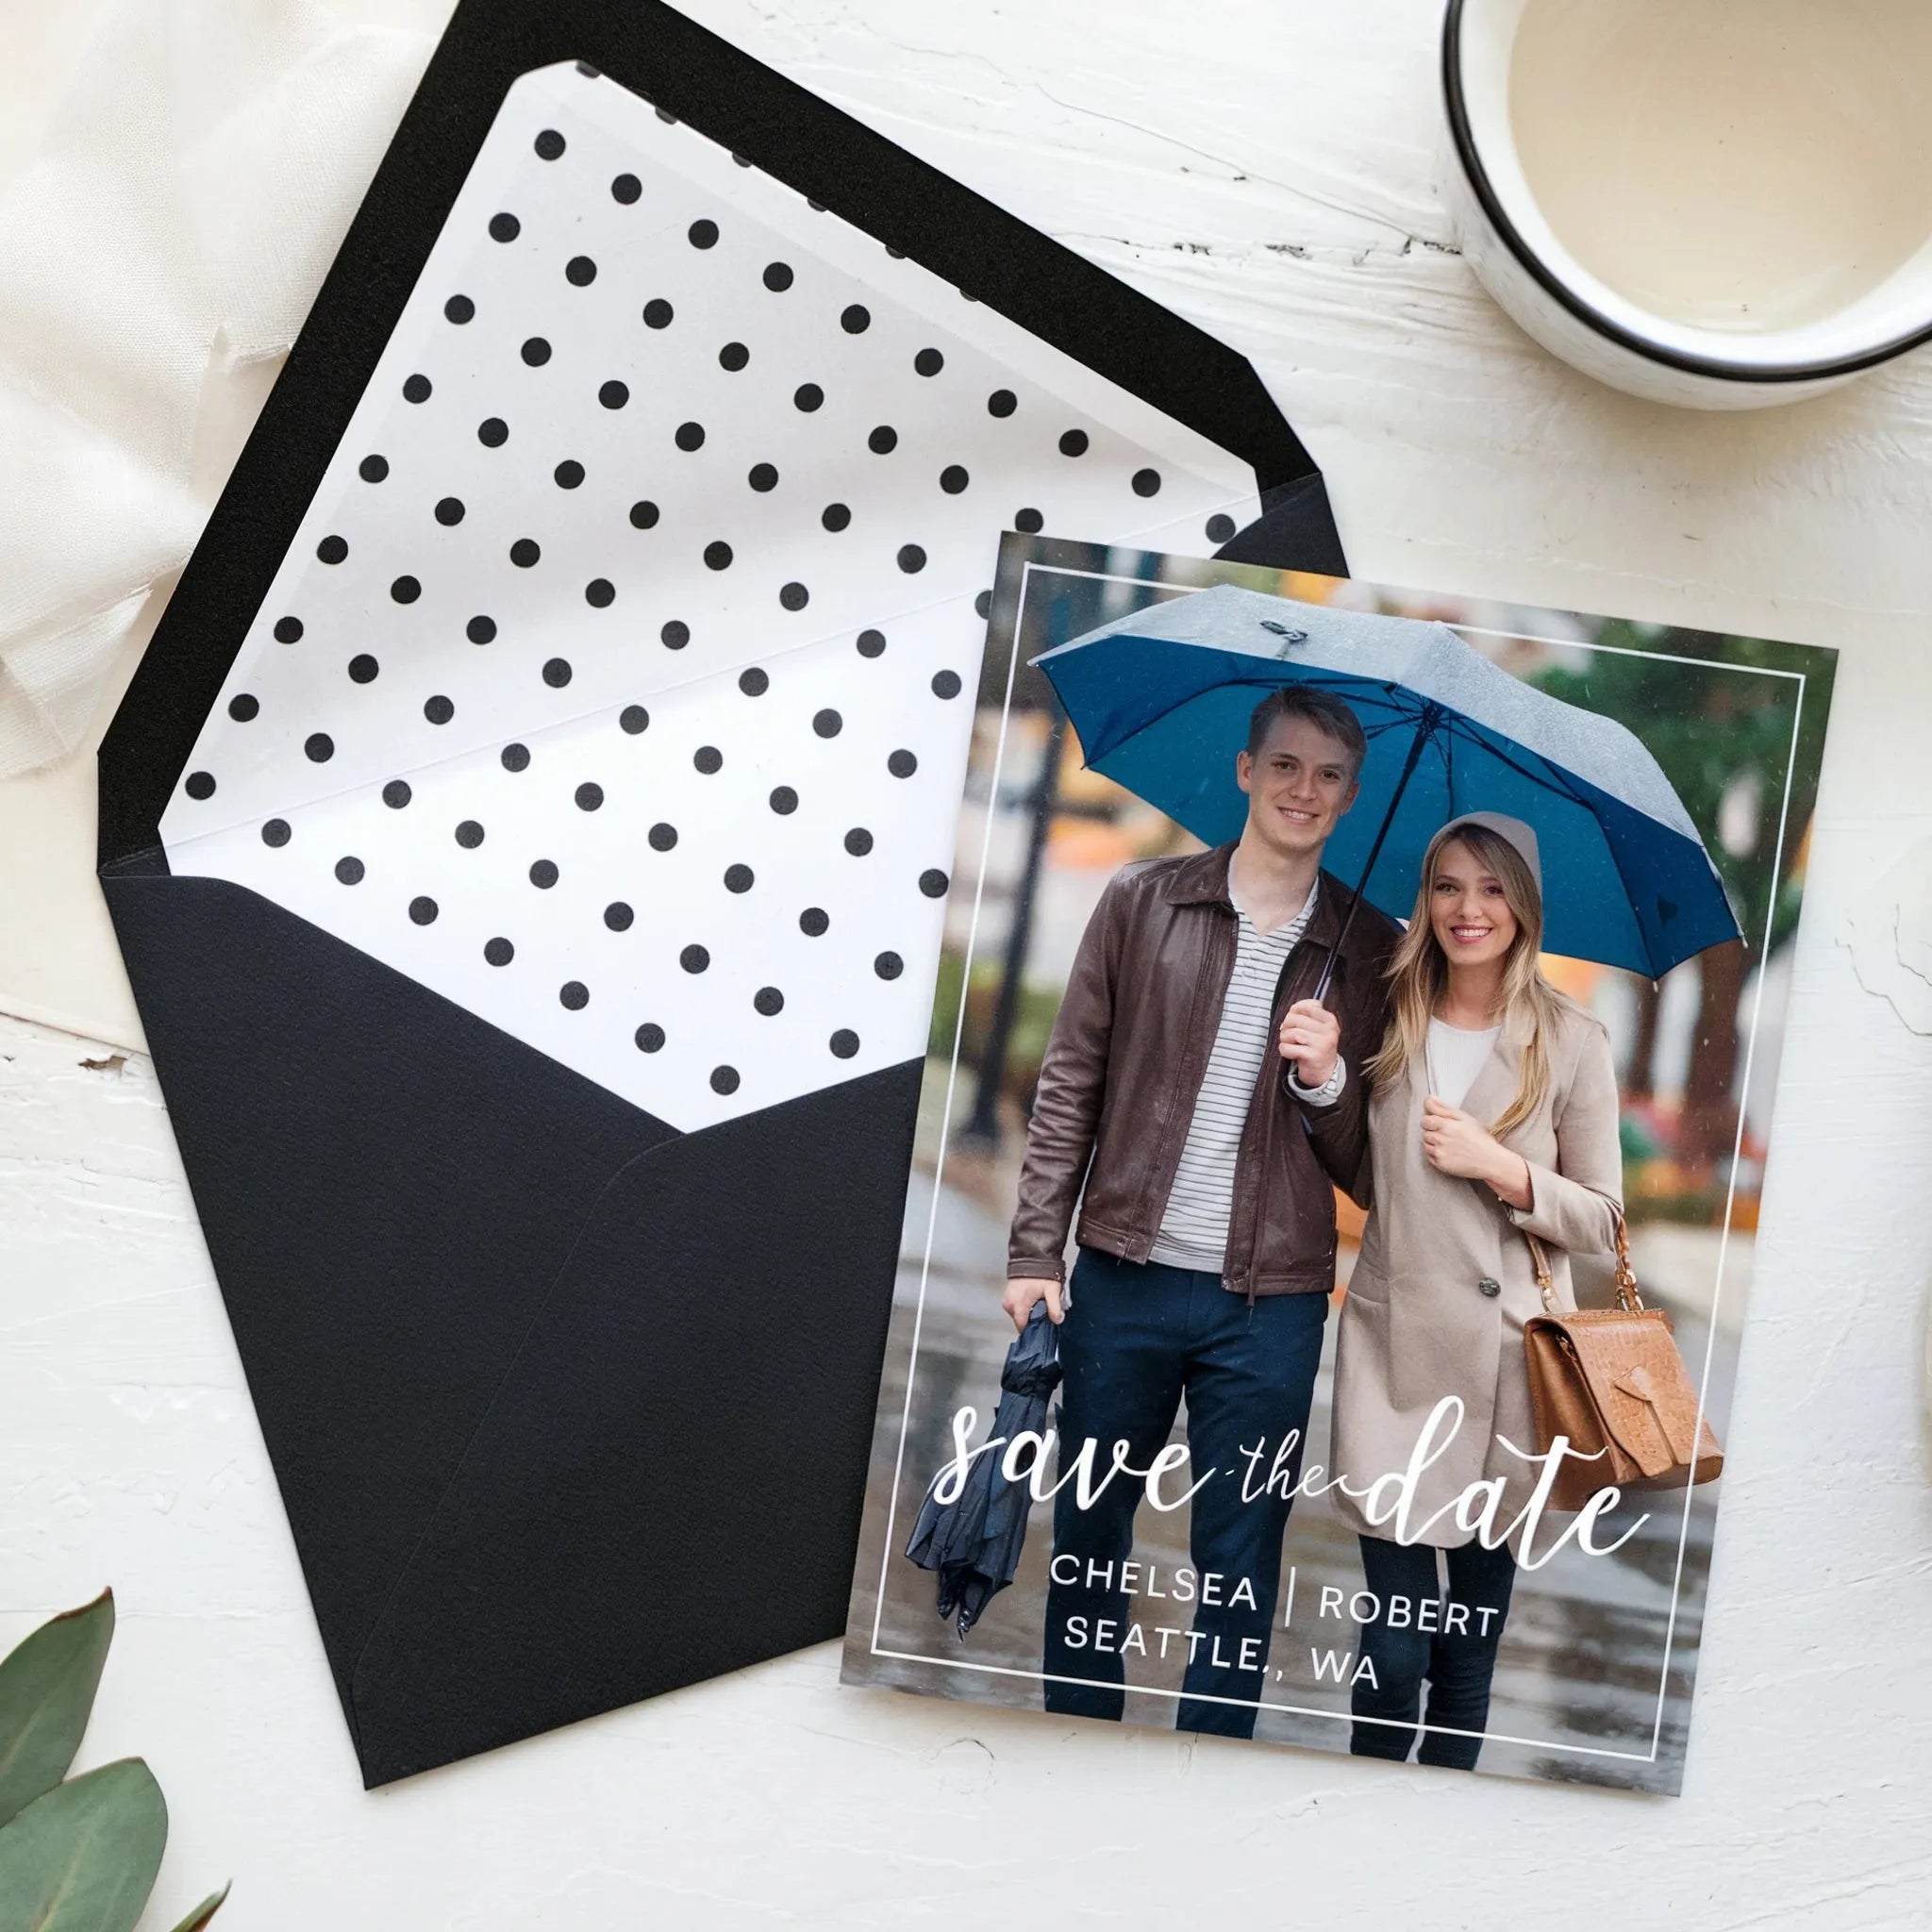
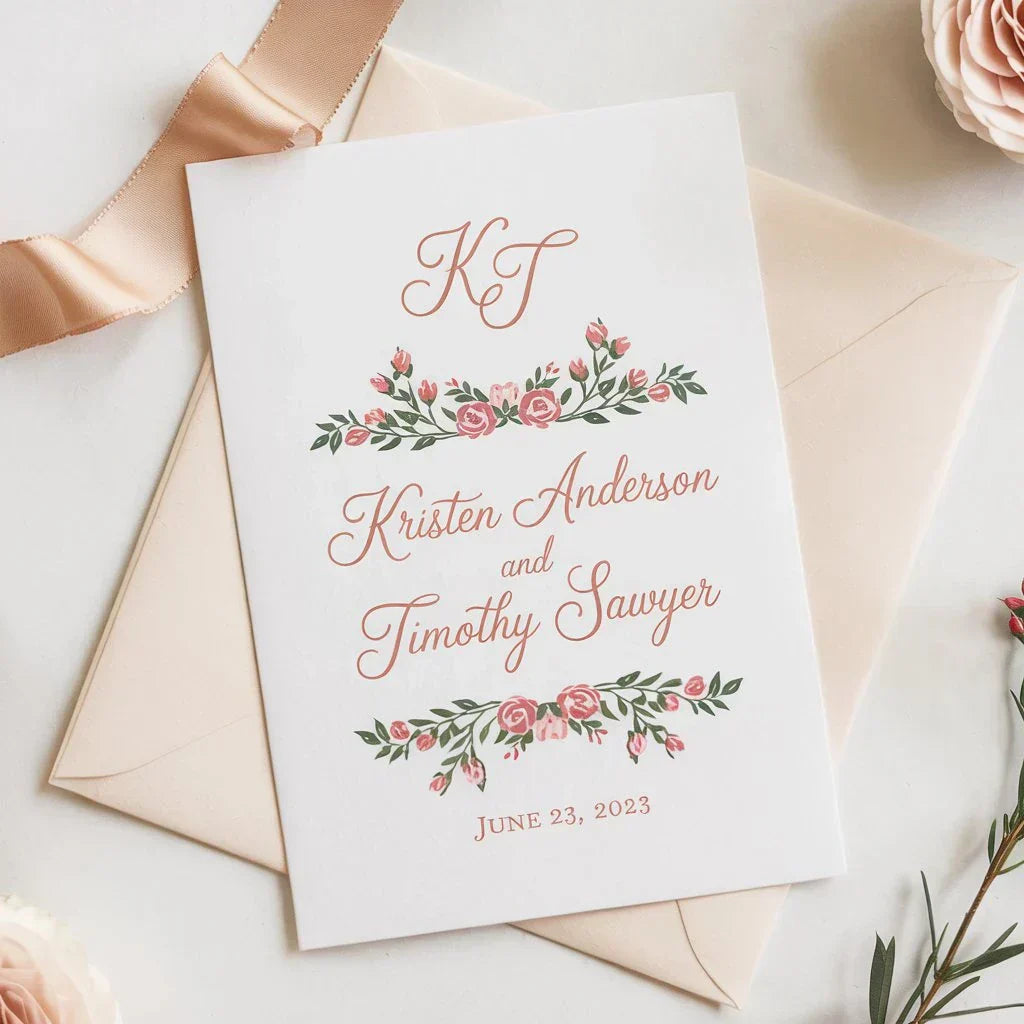
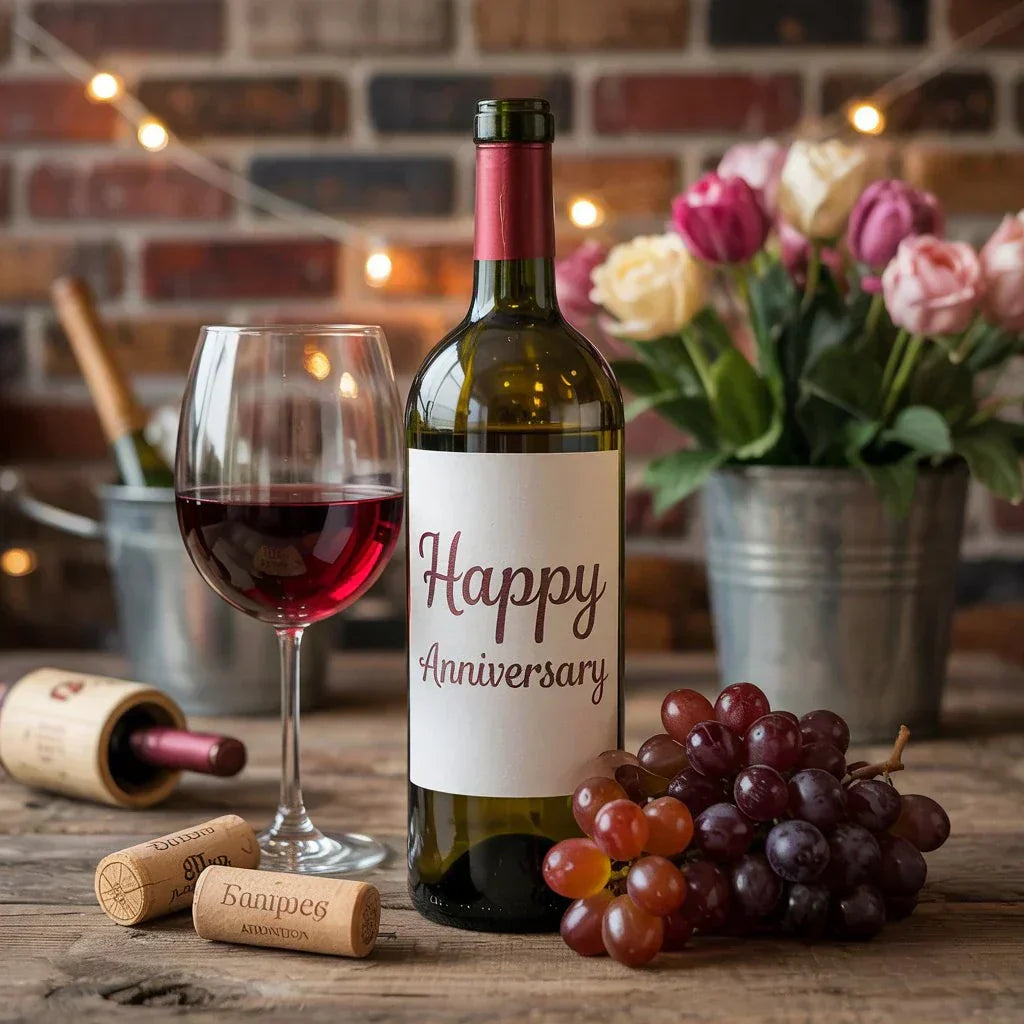
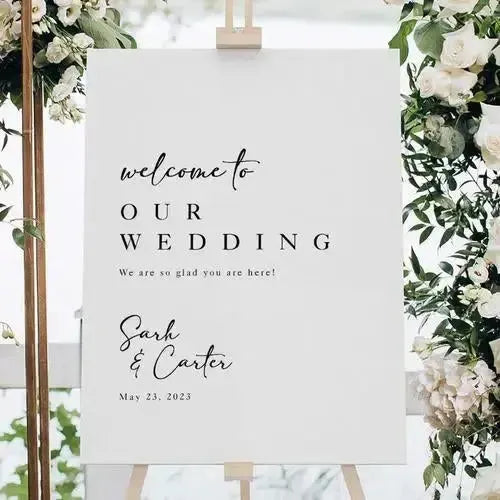
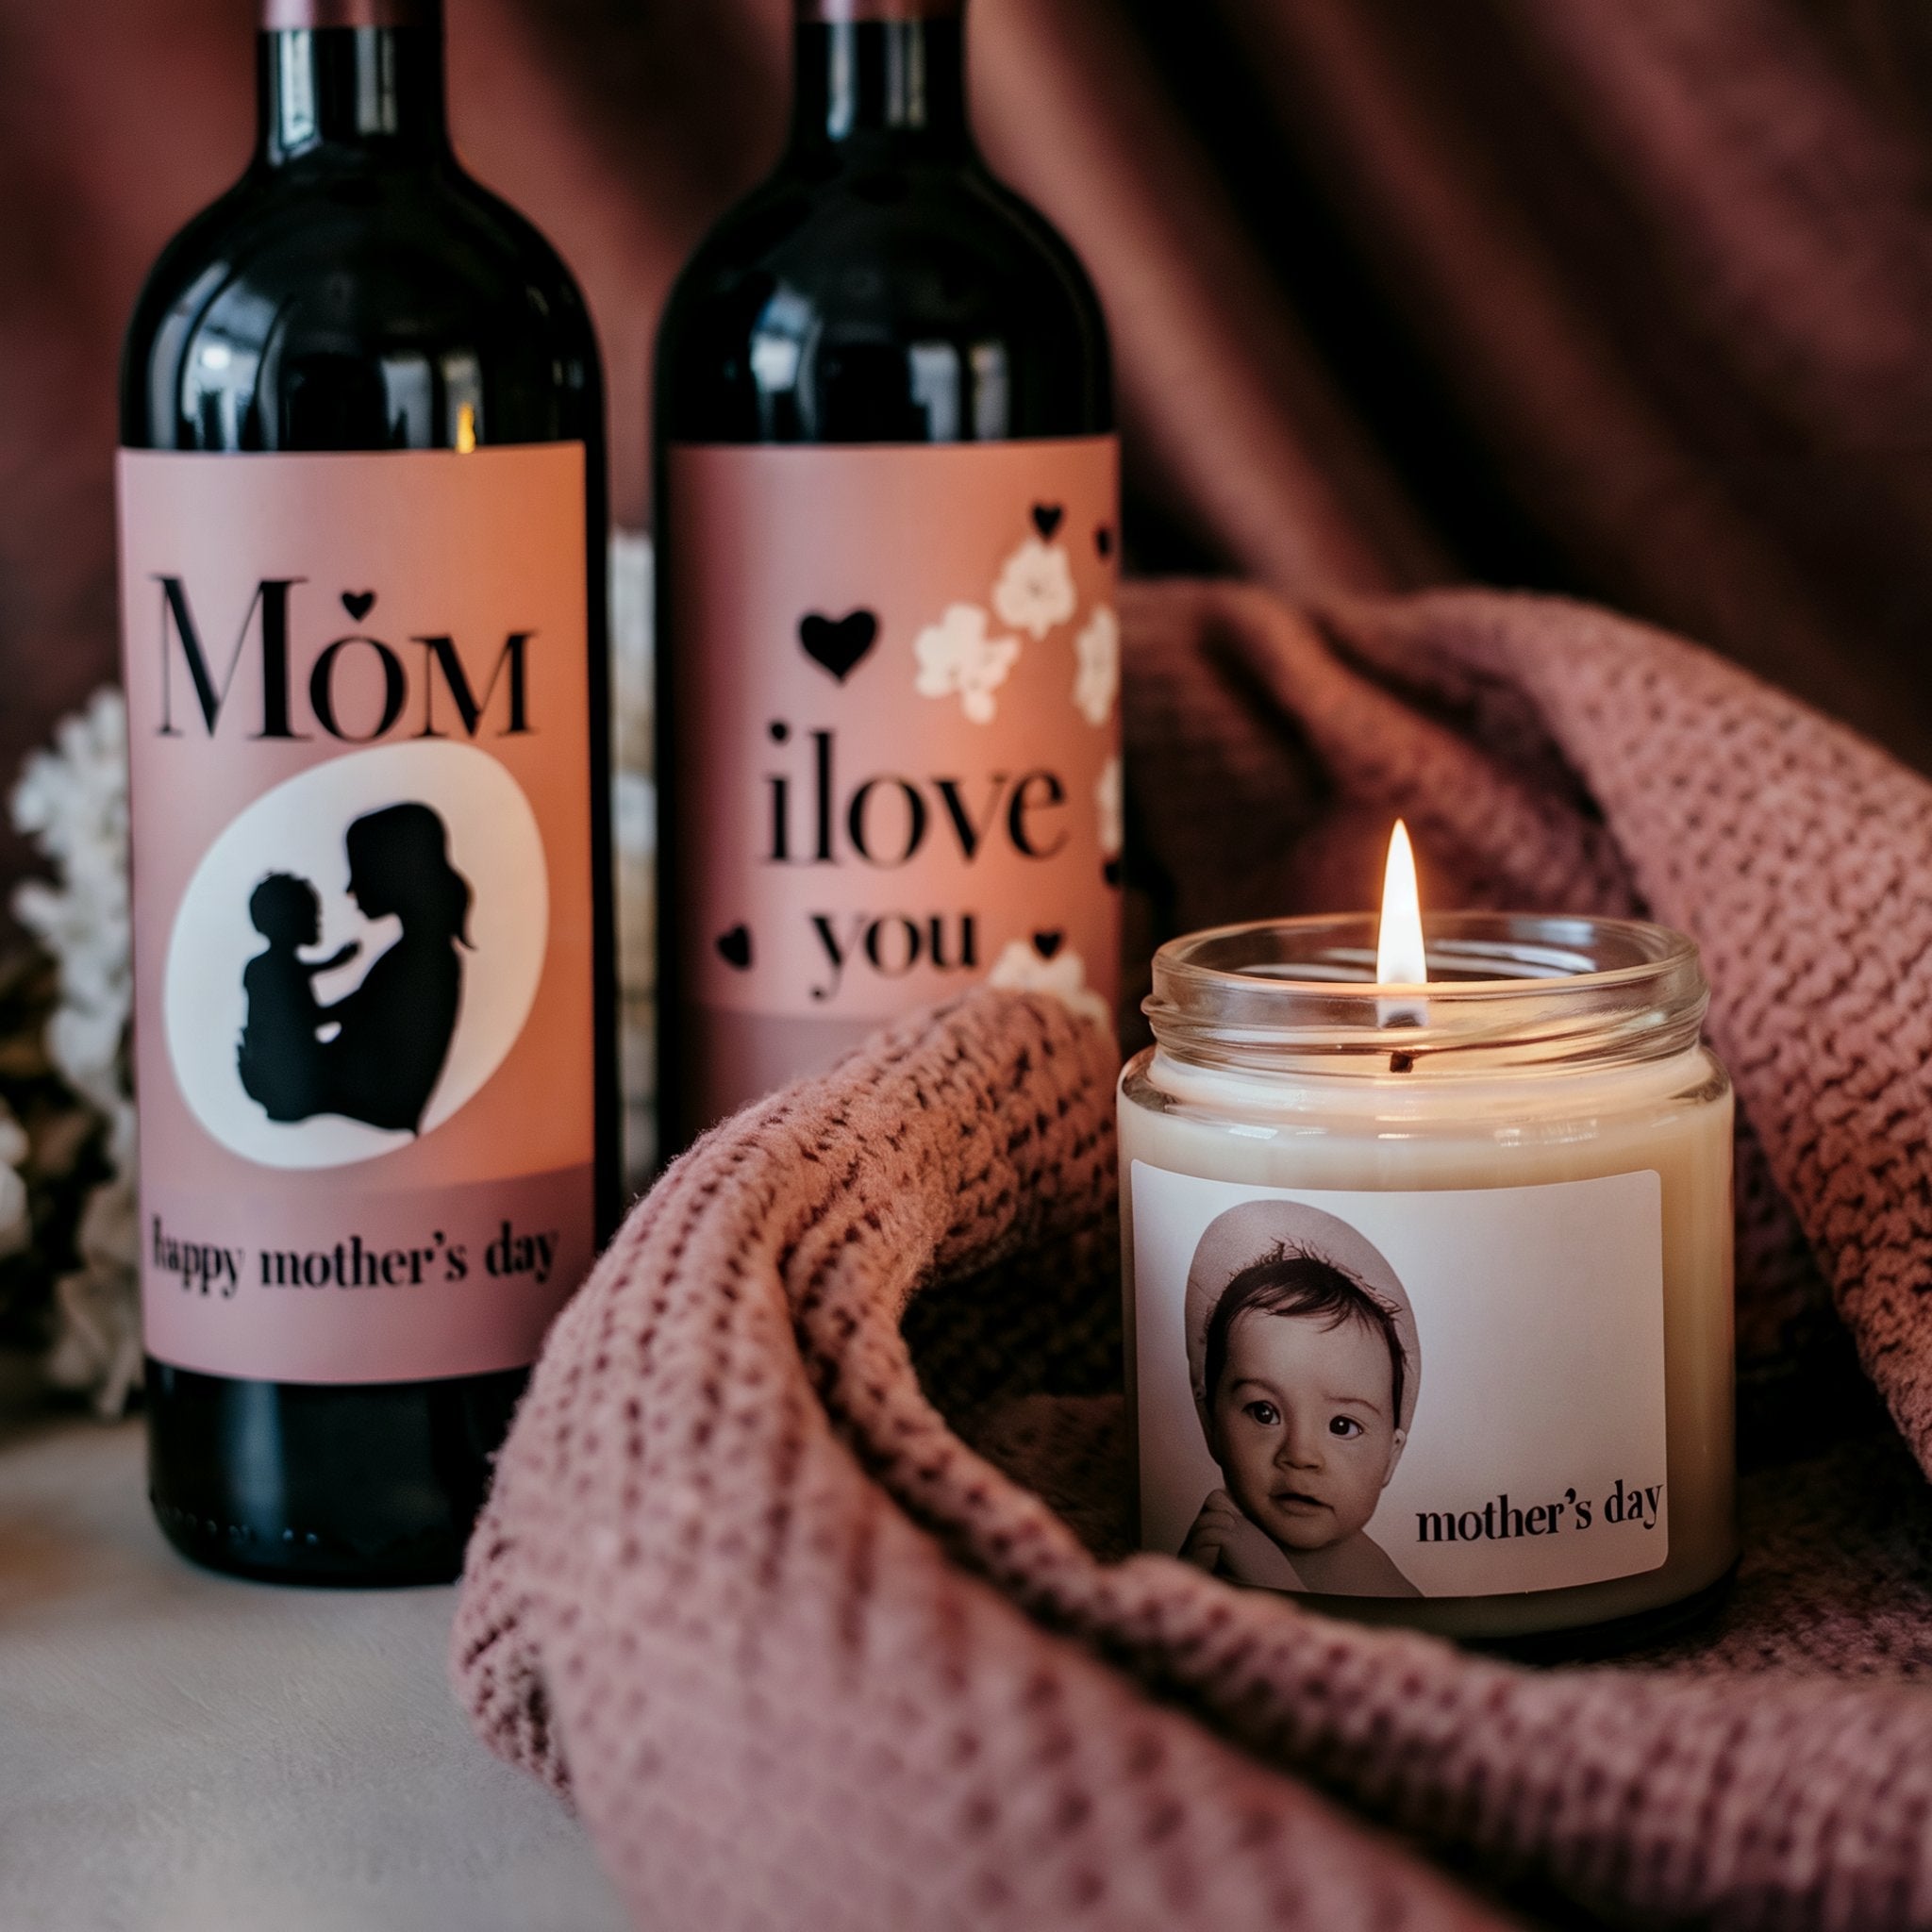
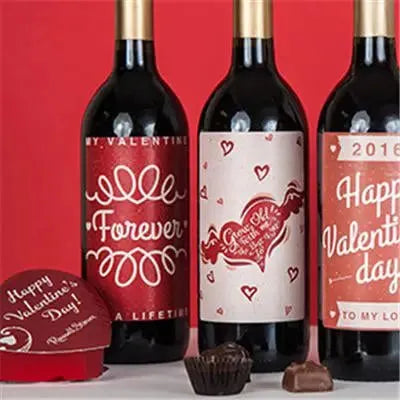
Weddings: Elegant fonts, floral designs, monograms
-
Business Events: Brand colors, logos, clean and professional layout
-
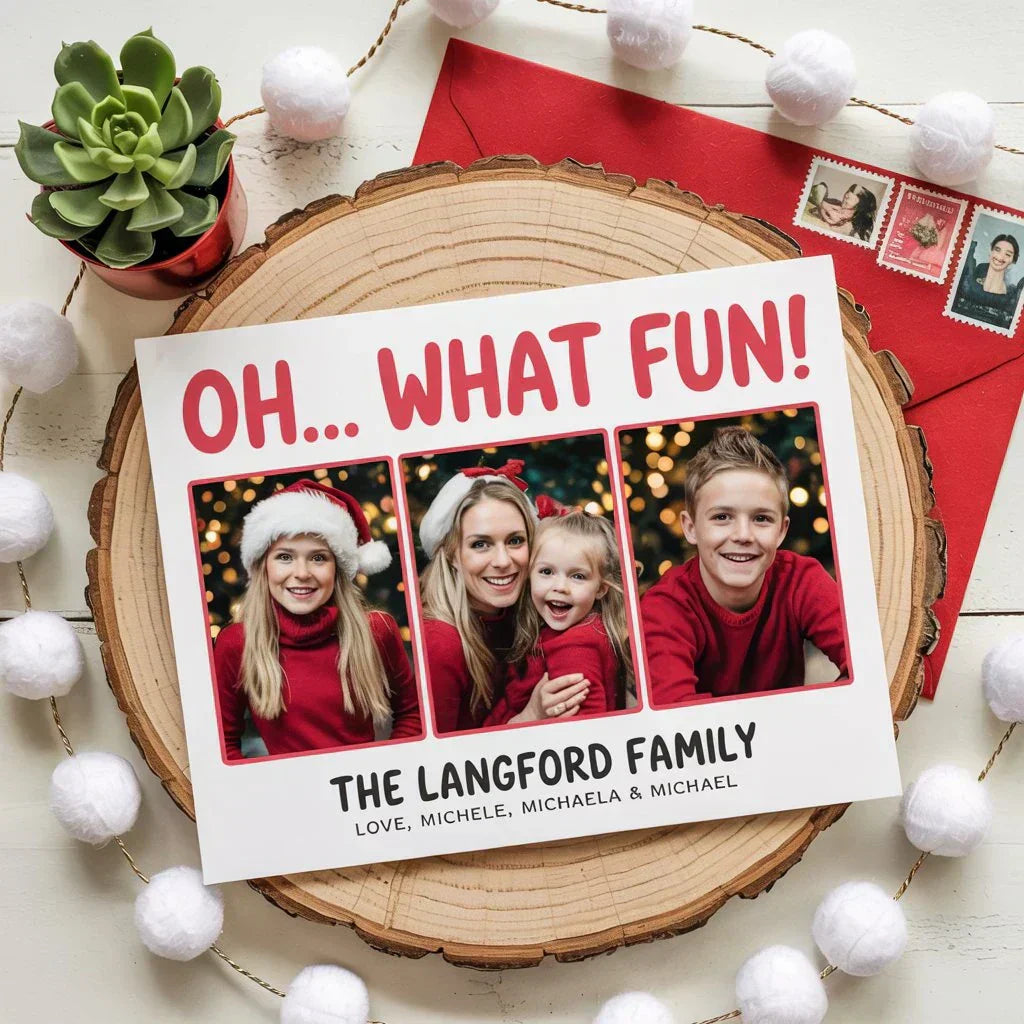
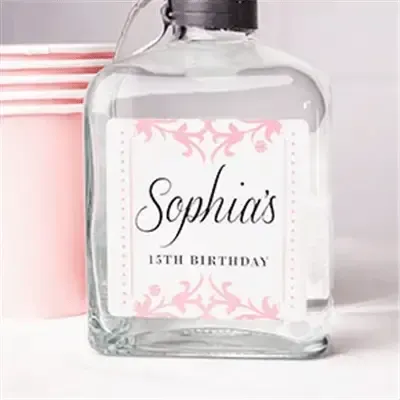
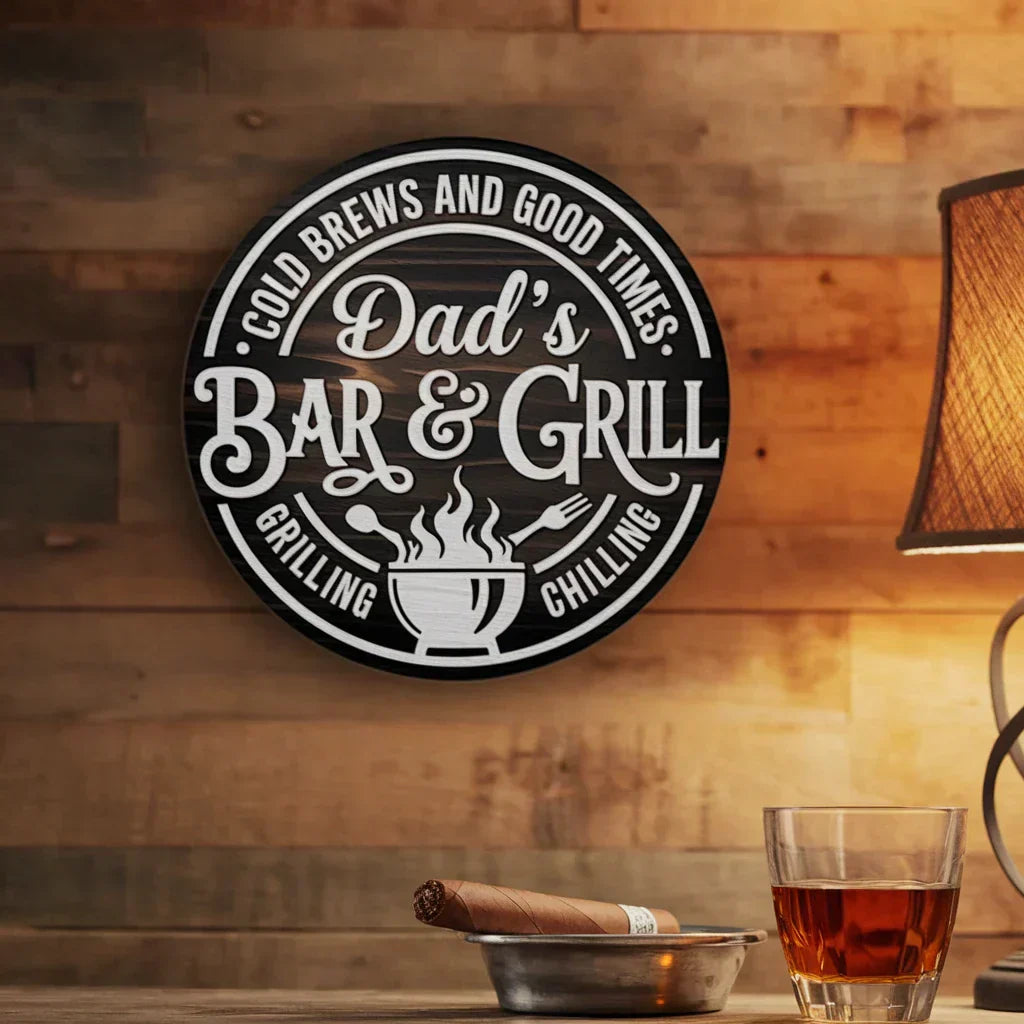
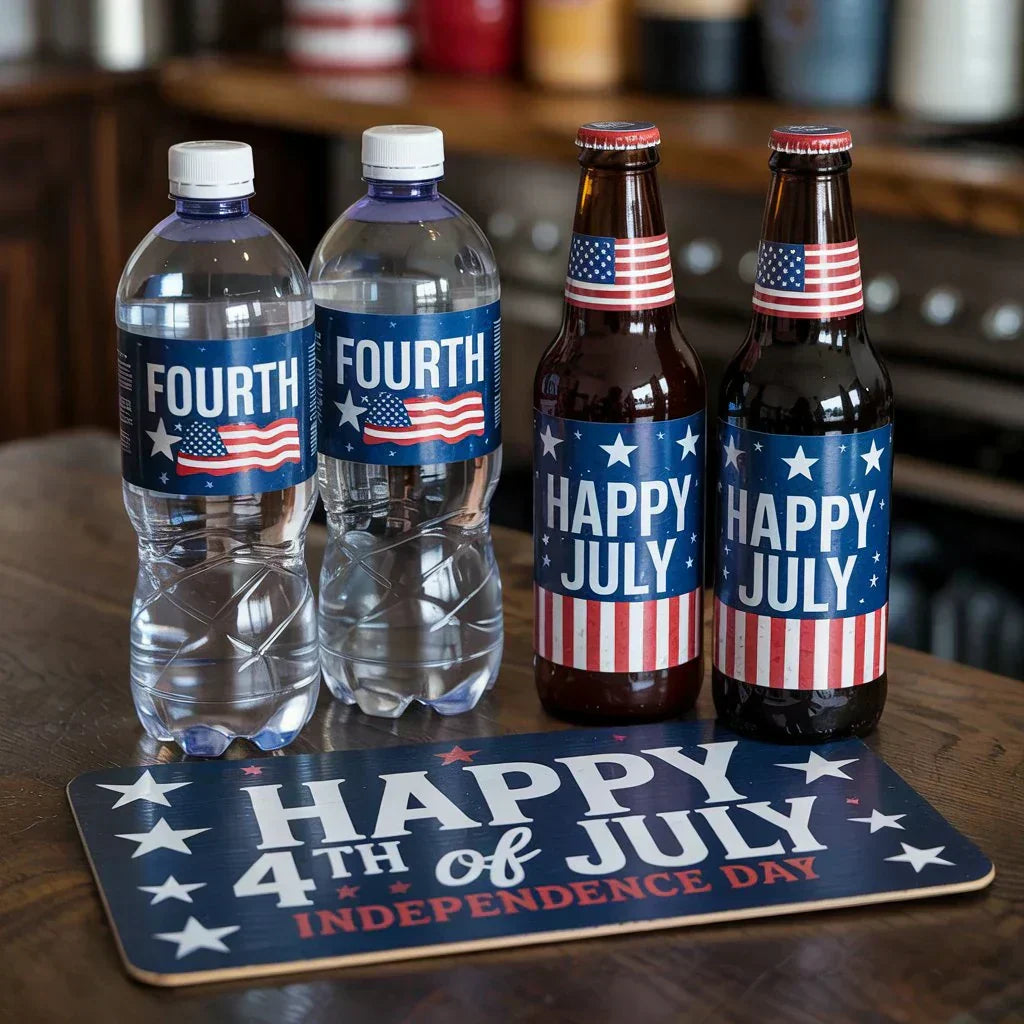
Birthdays & Parties: Fun fonts, bright colors, themed elements
-
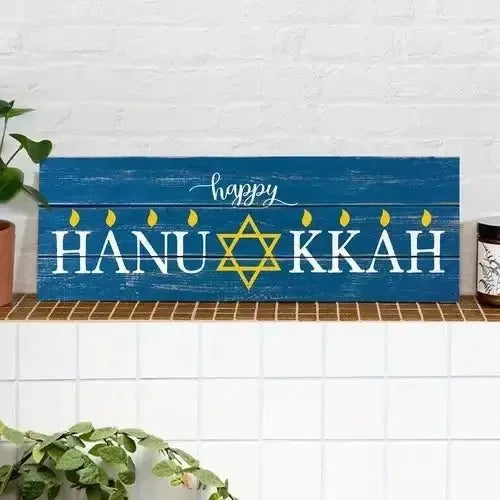
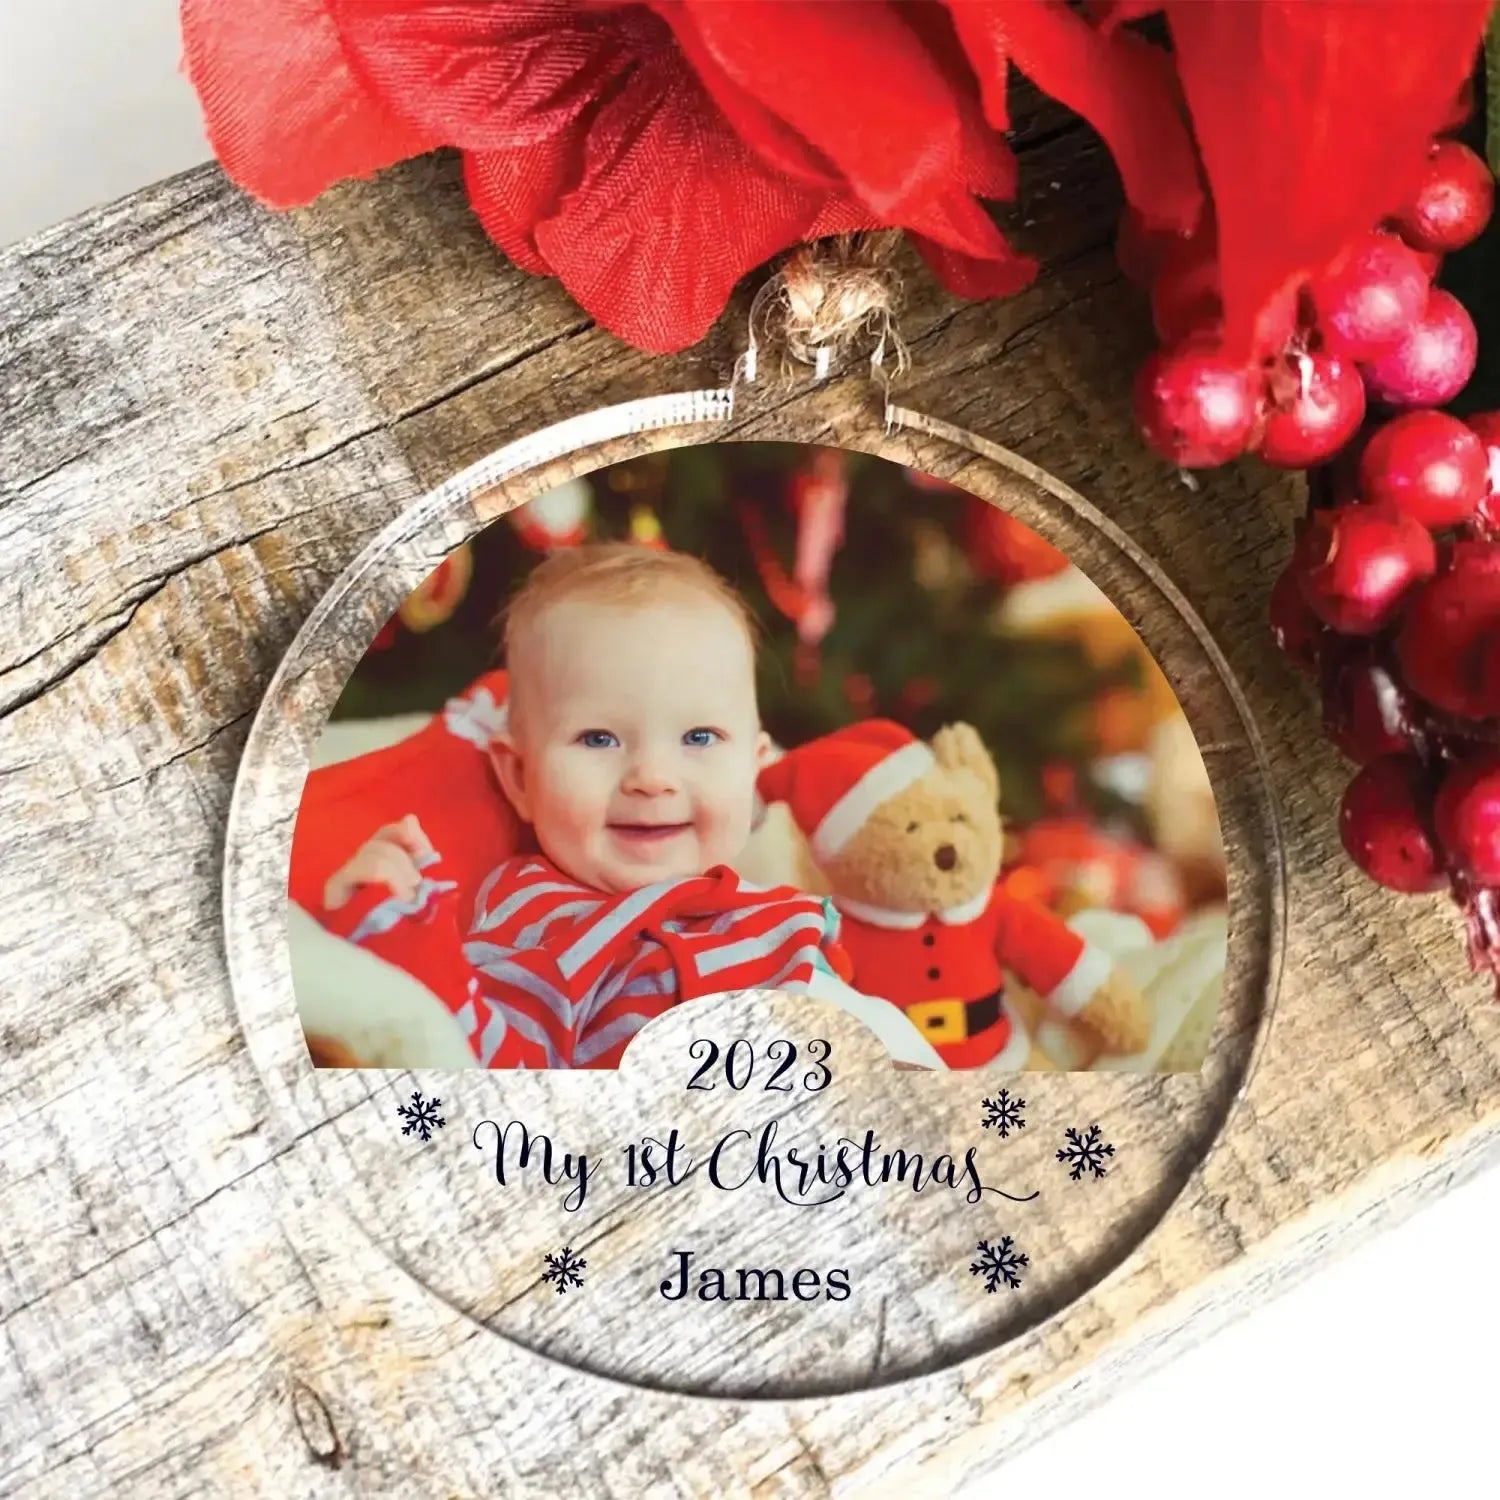
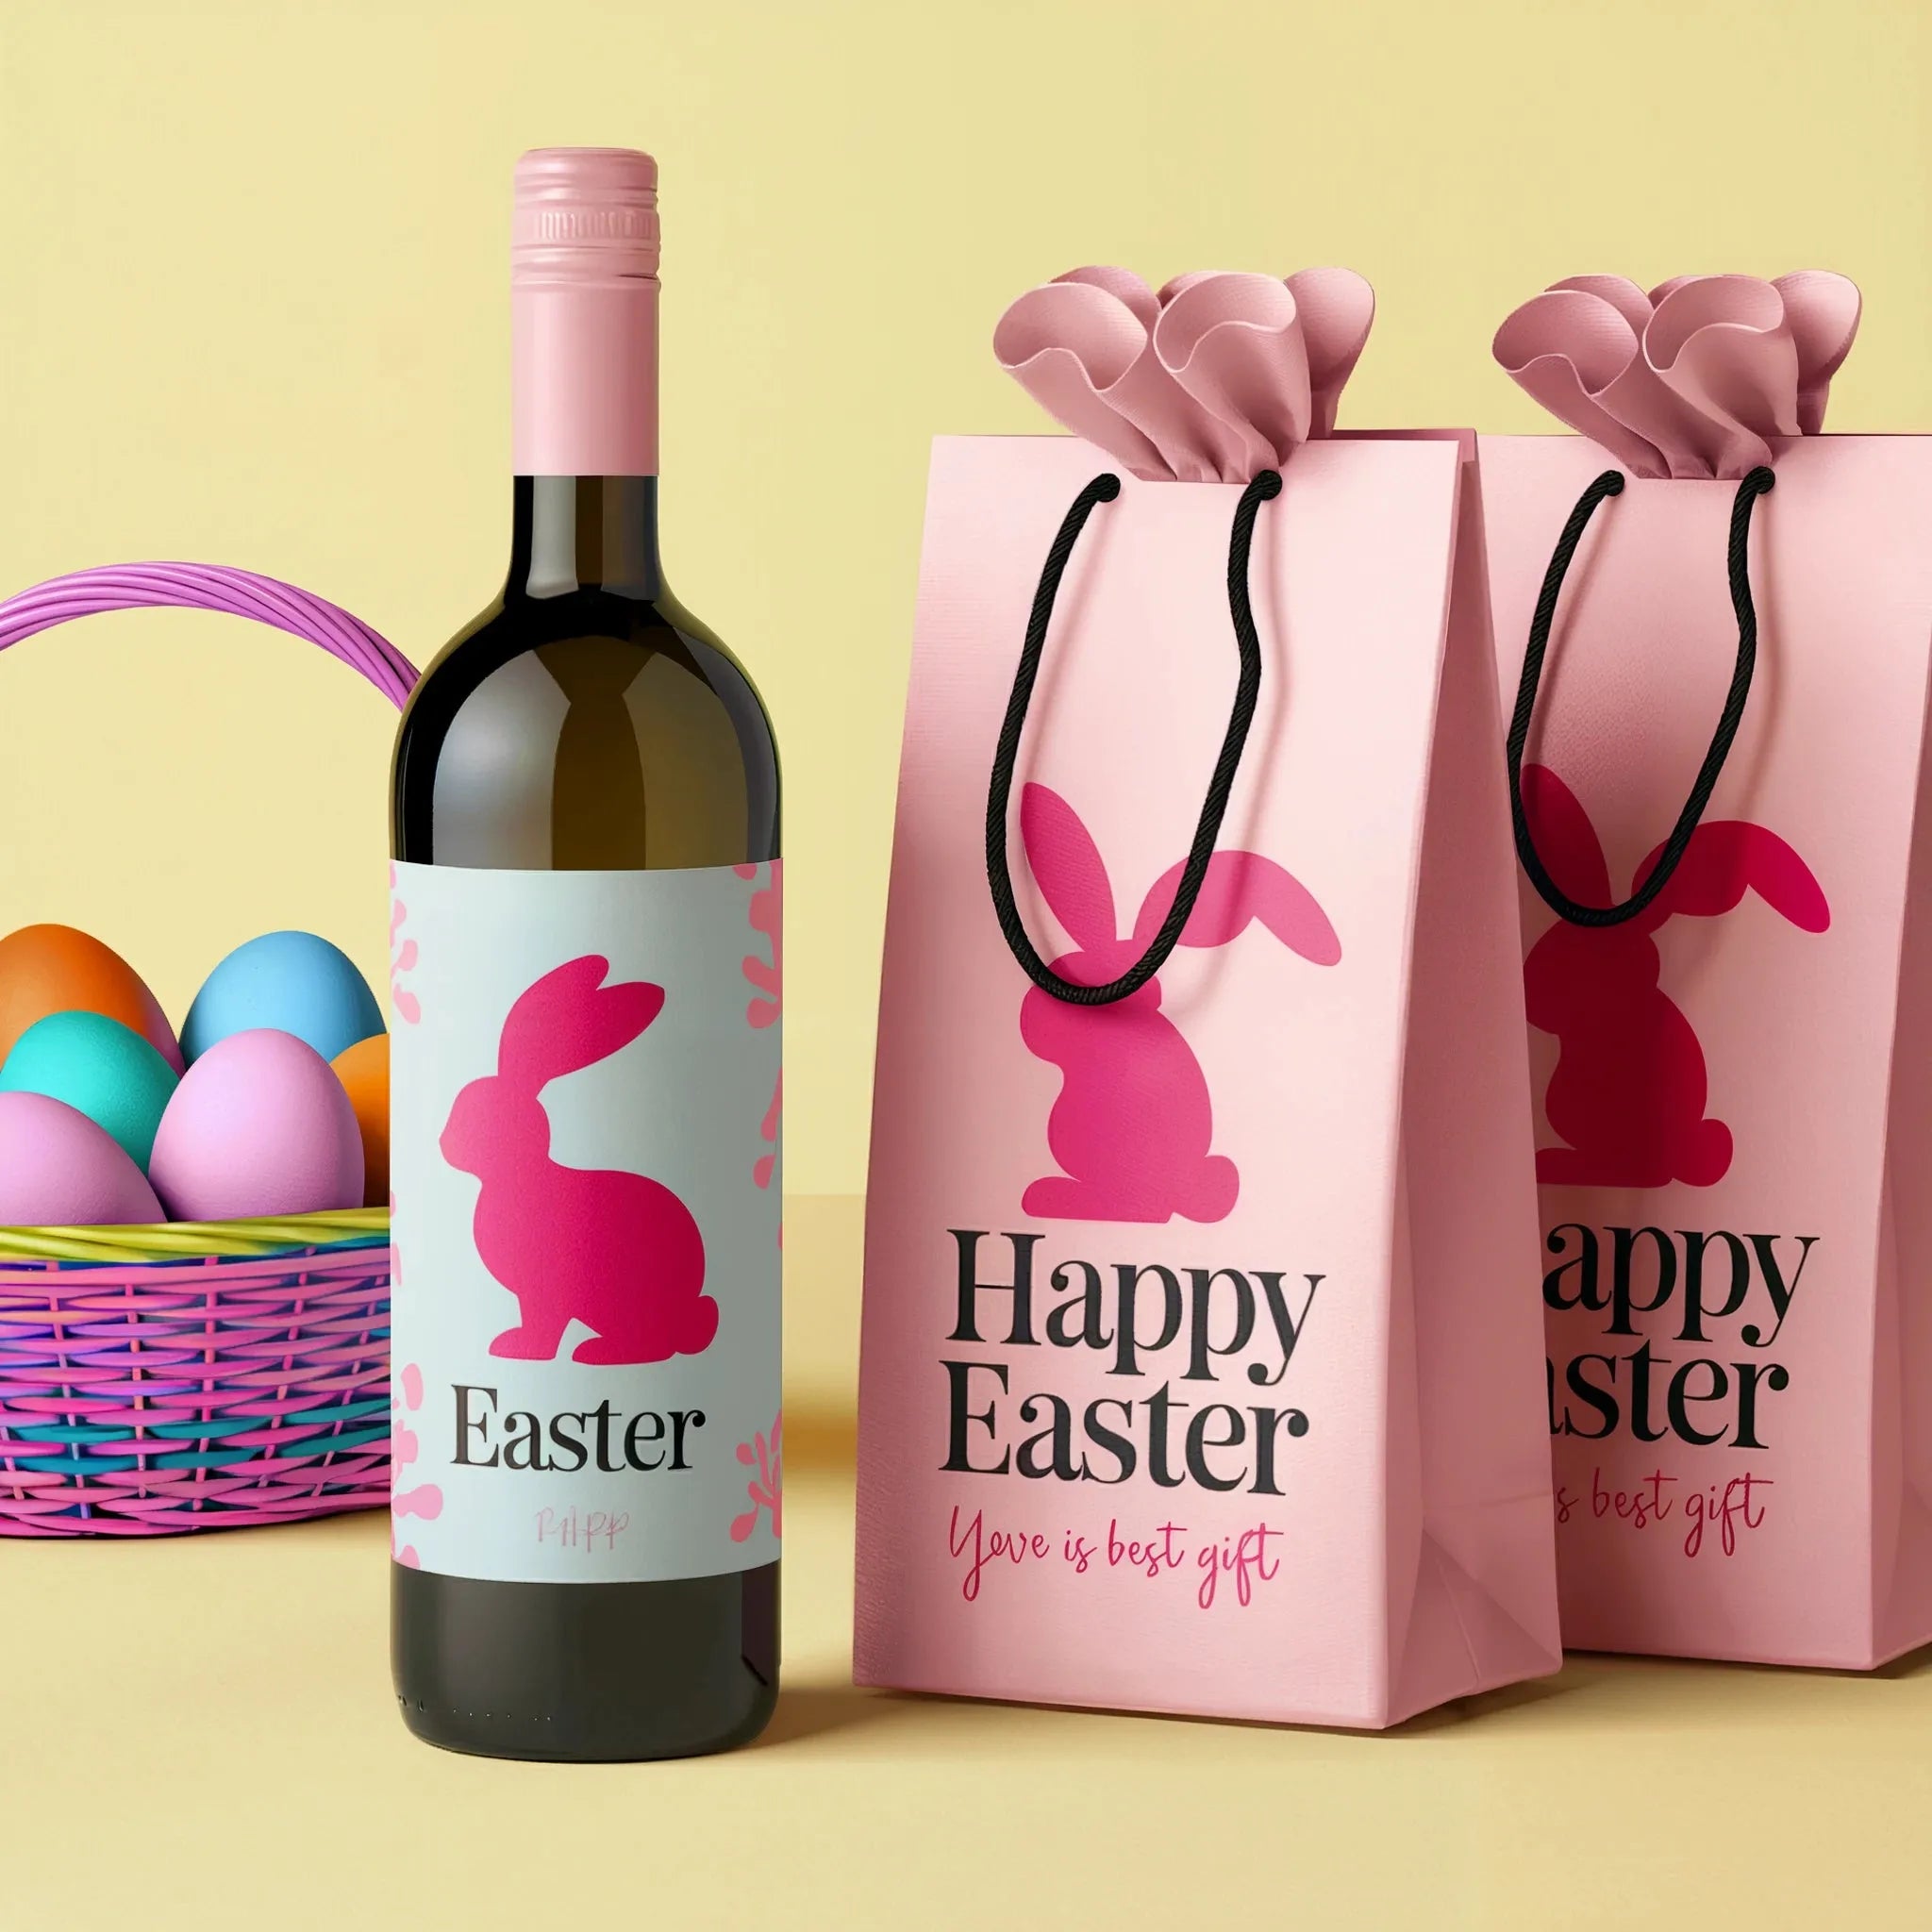
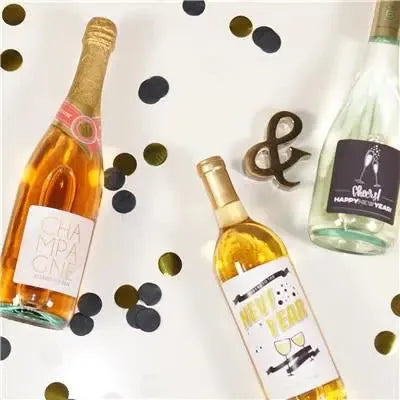
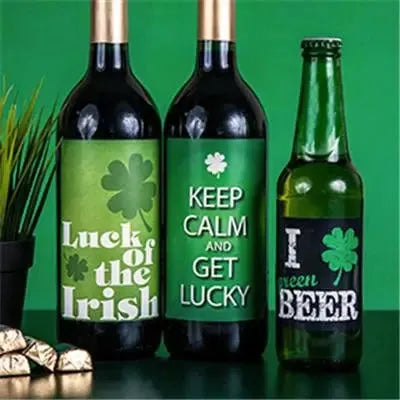
Holiday Events: Festive colors, snowflakes, seasonal graphics
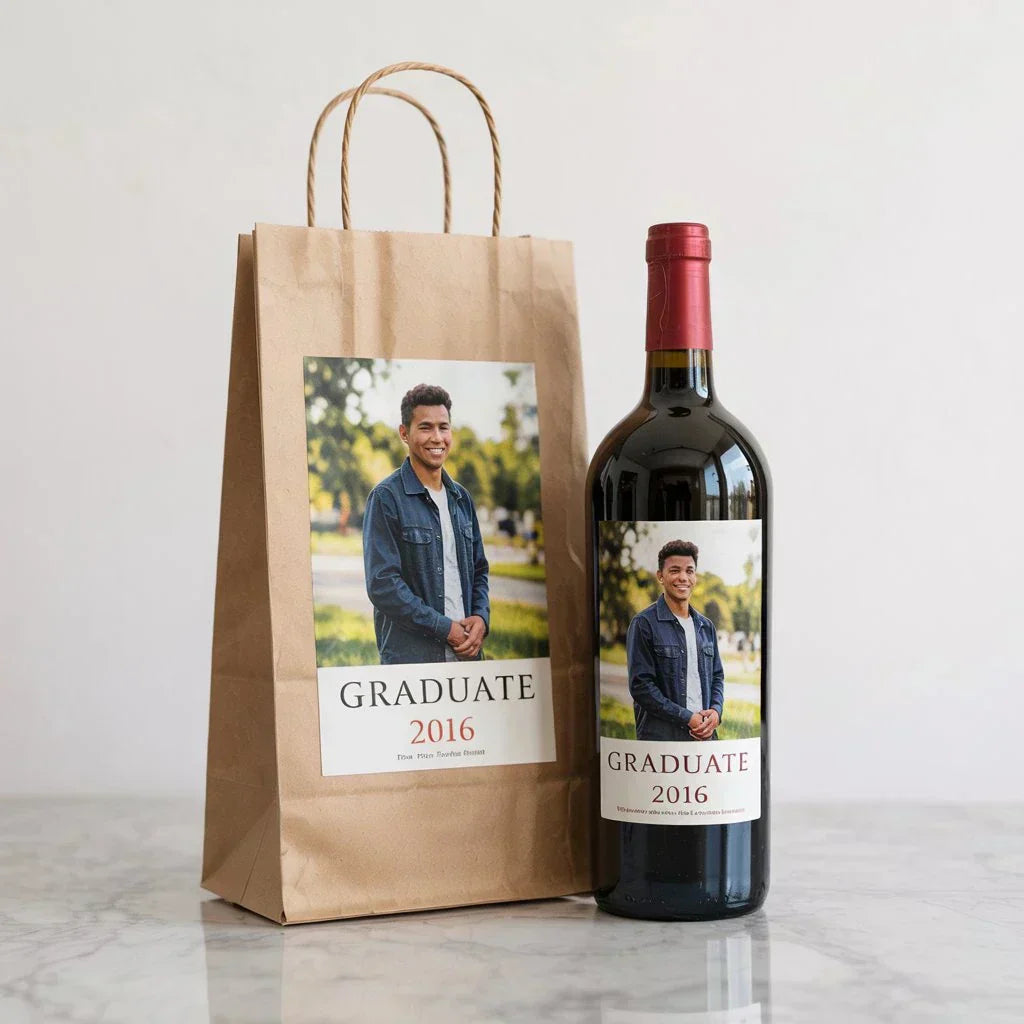
2. Use High-Quality Images and Fonts
-
Select crisp, high-resolution images to prevent pixelation.
-
Use easy-to-read fonts that match the event’s aesthetic.
-
Avoid overcrowding the label—leave some whitespace for a clean look.
3. Add Important Details
-
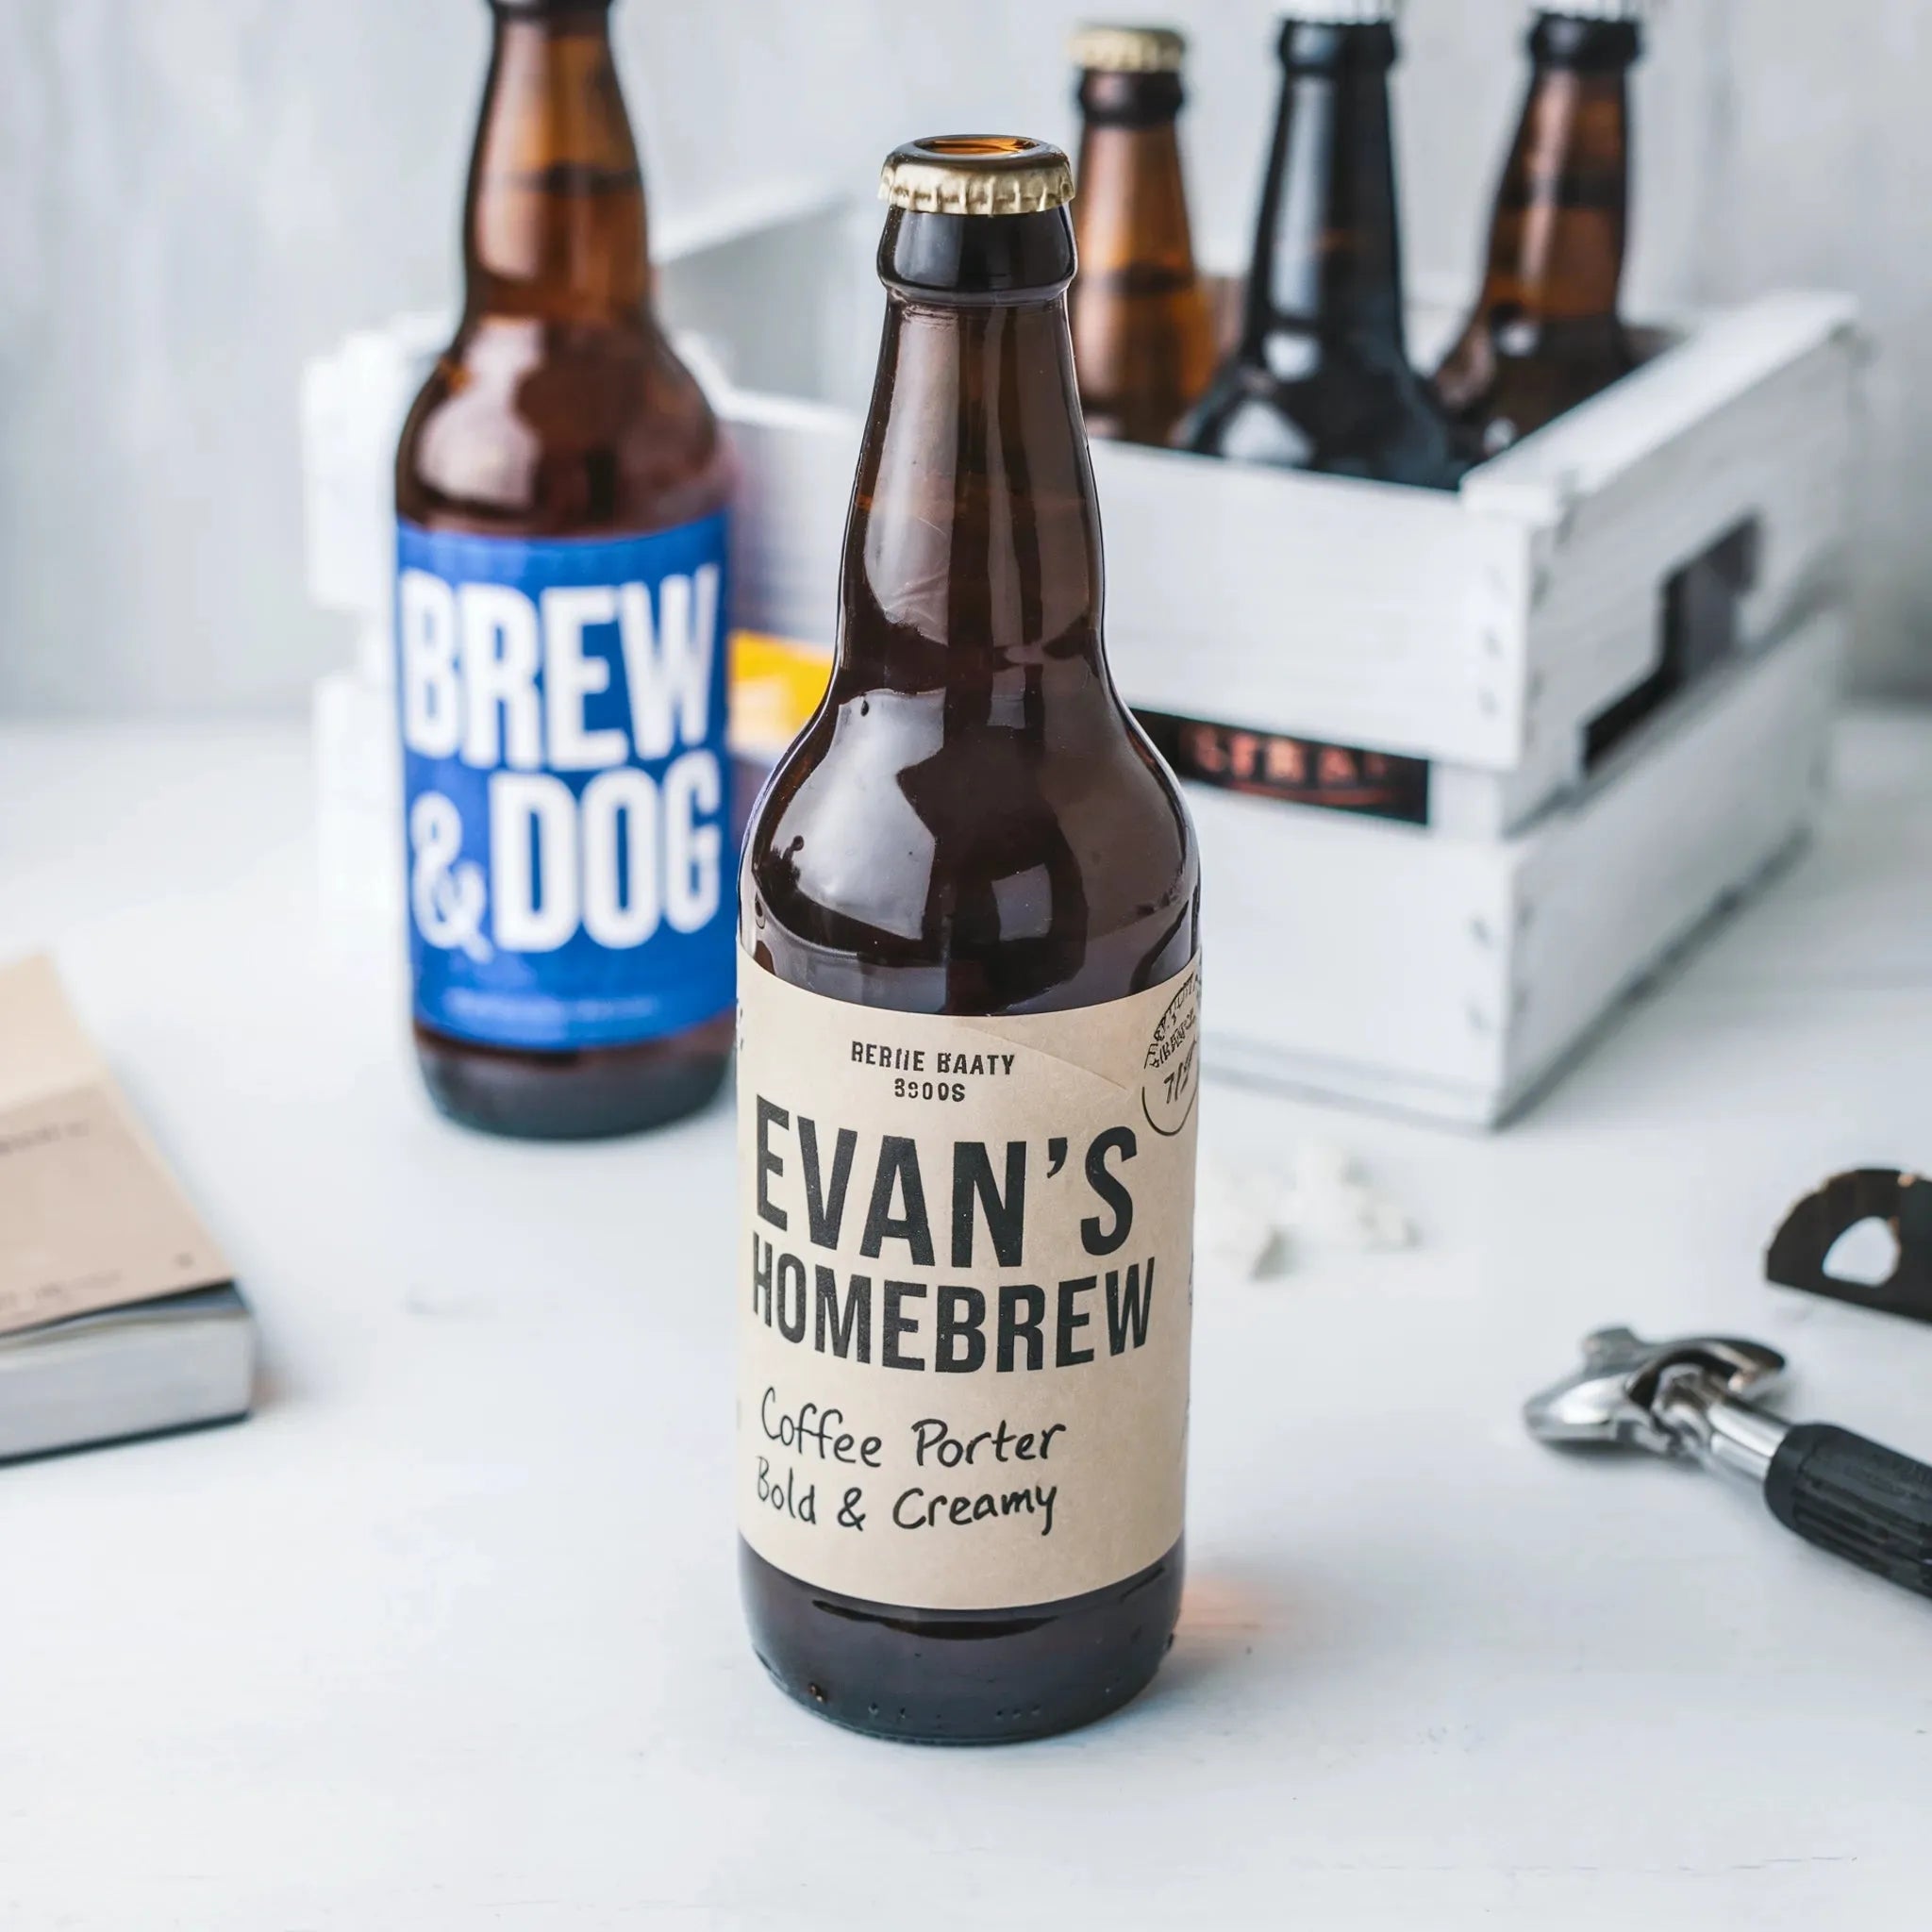
Name of the event or business
-
Date and location
-
Website, social media handle, or QR code linking to a landing page
-
Fun taglines or quotes relevant to the event
Tip: Use design tools like Canva, Adobe Spark, or Photoshop for a polished look. Many online printing services also offer pre-made templates.
Step 3: Select Printing Materials
Your choice of printing materials affects the durability and quality of your labels. Common materials include:
-
Glossy Paper: Vibrant colors and a smooth finish
-
Matte Paper: Elegant and non-reflective
-
Waterproof Vinyl: Ideal for chilled water bottles and outdoor events
-
Clear Labels: For a sleek, transparent effect that blends seamlessly with the bottle
For a deeper understanding of label materials, check out this Guide to Choosing the Right Label Material to ensure you select the best option for your needs.
Step 4: Print Your Labels
You can either print at home or use a professional printing service like iCustomLabel. When printing at home:
-
Use a high-resolution printer.
-
Choose waterproof or weather-resistant ink.
-
Print on full-sheet label paper and cut to size.
-
Use a precision paper cutter for sharp edges.
If you’re printing in bulk or need waterproof labels, ordering from a professional service ensures better durability and quality.
Step 5: Apply the Labels
Follow these steps for perfect application:
-
Clean the Bottle Surface – Ensure it's dry and free of oil or dust.
-
Peel & Stick – If using adhesive labels, slowly apply while smoothing out bubbles.
-
Use Waterproof Laminates – For extra durability, seal labels with clear laminating sheets.
-
Align Properly – Apply one side first, then smooth it around the bottle to avoid wrinkles.
Alternative Label Application Methods
If you’re not using adhesive labels, consider these methods:
-
Double-sided tape: Works well for non-permanent labels
-
Shrink sleeves: Heat-shrink wraps for a professional, tamper-proof look
-
Rubber bands or twine ties: Ideal for rustic or handmade-themed events
Pro Tips for a Professional Finish
-
Use a Template: Pre-made templates save time and ensure correct sizing.
-
Test Print First: Print a sample before mass production to check alignment and colors.
-
Order Custom Labels: If you need high-quality, bulk labels, consider ordering from iCustomLabel.
-
Try Foil or Embossing: If you want a premium look, metallic foil or embossed finishes make labels stand out.
-
Consider a Unique Shape: Custom die-cut labels (such as circles, waves, or ovals) create a distinctive look beyond standard rectangles.
Final Thoughts
Creating custom water bottle labels is a fun and cost-effective way to personalize your bottles for any occasion. Whether you’re DIYing for a wedding, branding for a business, or hosting a special event, following these steps ensures a polished and professional look.
For high-quality custom labels, check out iCustomLabel’s Water Bottle Label Collection. With customizable options and durable materials, you’ll get the perfect label for any event!
Summary
Step 1: Size and Shape Selection:
- Measure the bottle for accurate sizing.
- Common sizes: 8.25” x 1.75”, 8” x 2”, 7.5” x 1.5”.
- Test print on regular paper for fit.
Step 2: Label Design:
- Choose a theme (wedding, business, birthday, holiday).
- Use high-quality images and readable fonts.
- Include essential details (name, date, website, quotes).
- Utilize design tools like Canva, Adobe Spark, or Photoshop.
Step 3: Material Selection:
- Options: Glossy paper, matte paper, waterproof vinyl, clear labels.
- Waterproof vinyl is ideal for chilled bottles.
Step 4: Printing:
- Print at home with a high-resolution printer and waterproof ink.
- Use full-sheet label paper and a precision cutter.
- Professional printing services offer higher quality and bulk options.
Step 5: Label Application:
- Clean and dry the bottle surface.
- Peel and stick adhesive labels, smoothing out bubbles.
- Use waterproof laminates for added durability.
- Alternative methods: double-sided tape, shrink sleeves, rubber bands.
Pro Tips:
- Use templates for correct sizing.
- Test print before mass production.
- Consider professional printing services for bulk orders.
- Add foil or embossing for a premium look.
- Consider unique label shapes.


Leave a comment